Recently, I posted a DIY Bathroom Update on a Dime blog (Check it out HERE). One of the tips is to update lighting by swapping out the interchangeable shades on light fixtures, chandeliers, sconces or pendants. Every home improvement store has a large selection of interchangeable shades. It’s one of the least expensive and easiest ways to update a space. Here is a quick and easy shade swap how to.
How To:
To begin, ensure electricity to the fixture you are working on is off. Then, remove the light bulb from the existing light fixture that you are swapping the shade on. Next, remove the ring that is holding on the current shade and remove it. Take the new shade and put it on light fixture. Secure the new shade on the light fixture by screwing the ring back onto the light fixture. Replace light bulb. The shade swap how to is as easy as that! See pics below for an illustration of the instructions below.
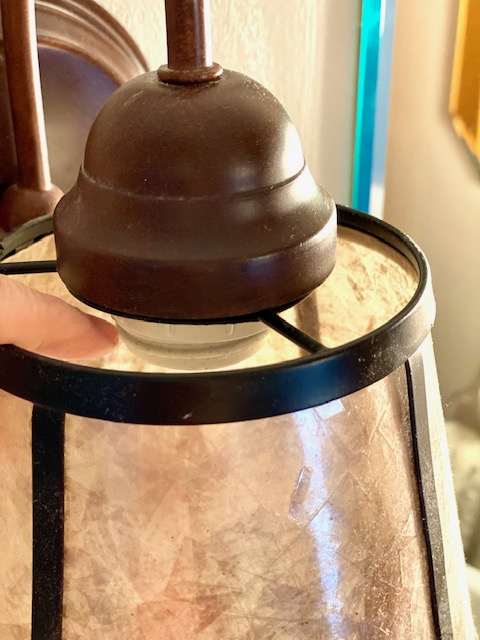
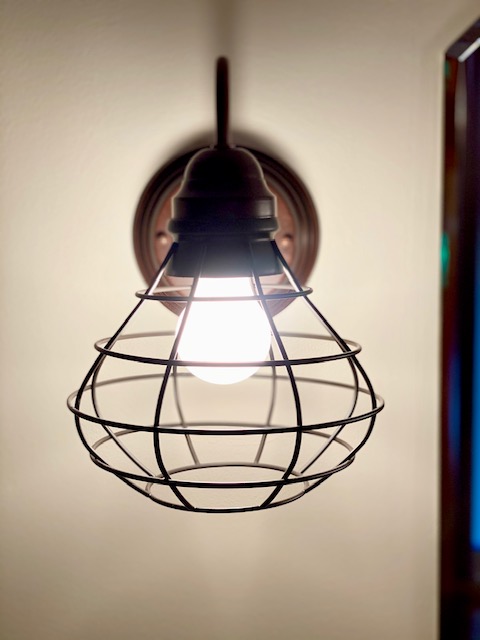
Remove light bulb
Remove ring holding on the current shade (screw it off to the left)
By removing the ring, the current shade will come off.
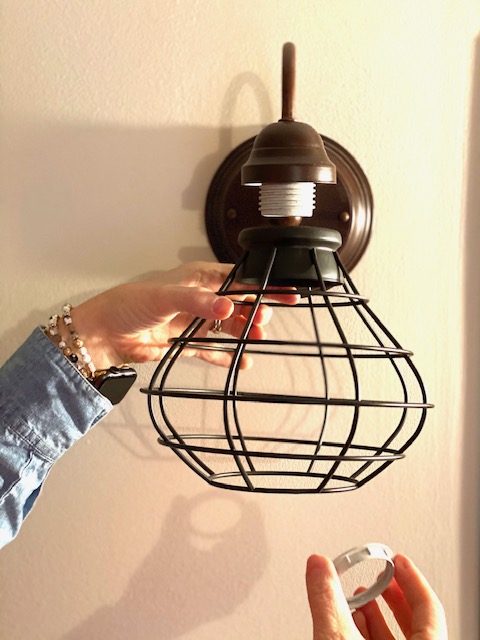
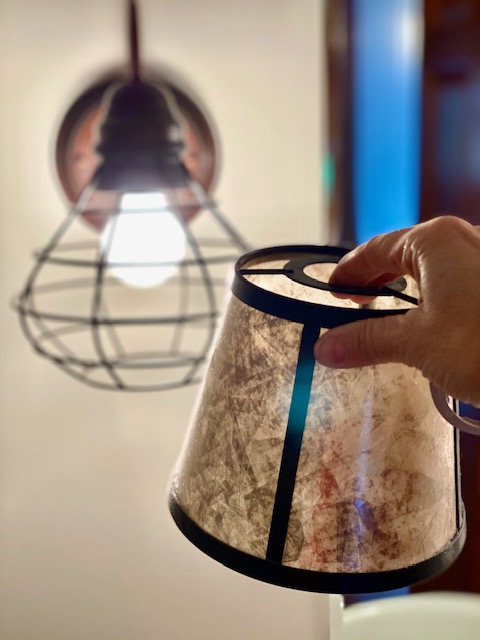
Put new shade on the light fixture.
Replace the ring to secure the shade (screw on to the right)
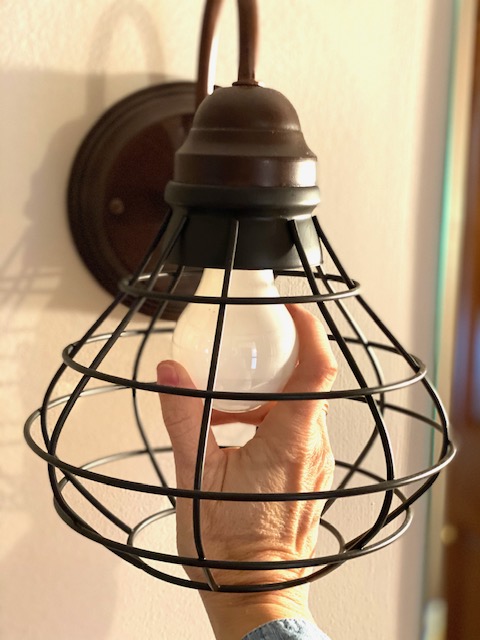
Replace lightbulb
Turn on light
Enjoy new look and updated decor!
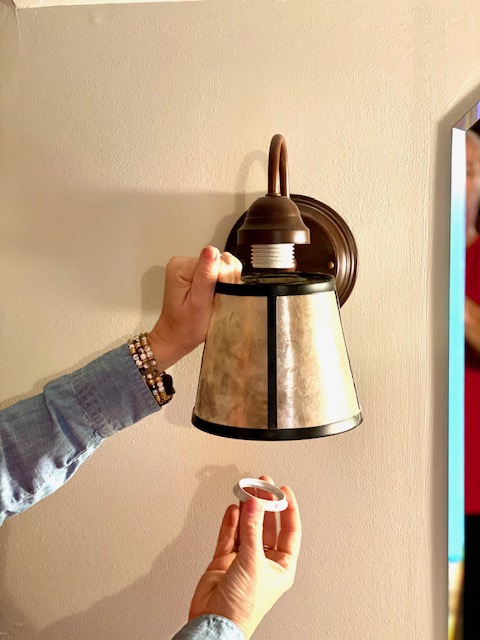
Unscrew the ring holding on the current shade
Remove the ring and the old shade
Put the new shade on the fixture
Screw the ring back on the fixture to hold the shade in place
Screw light bulb back into fixture
Enjoy your new updated light!
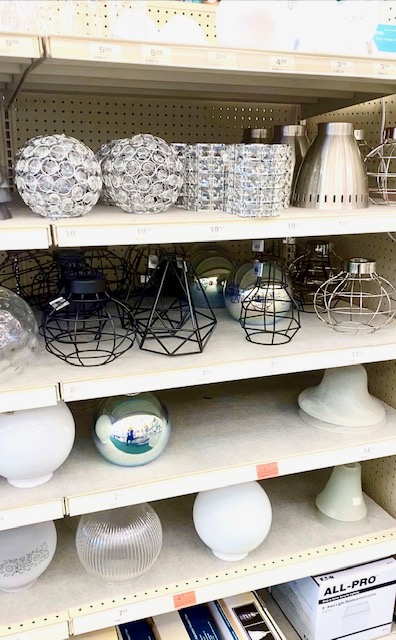
Many replacement shades available in any home improvement store