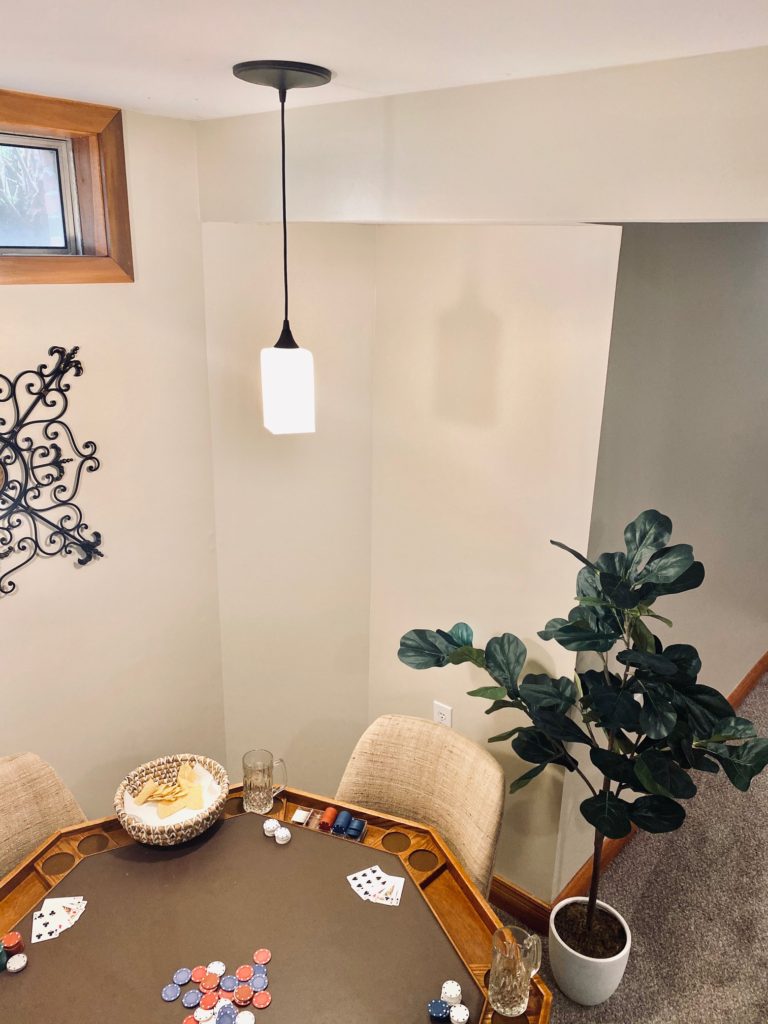
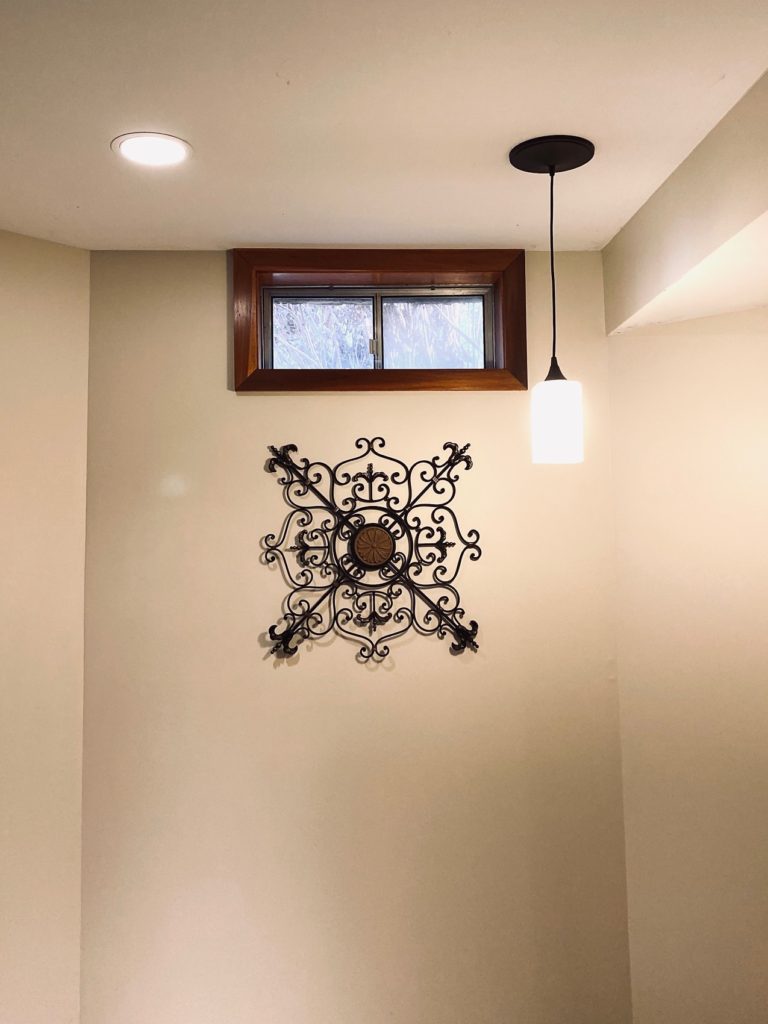
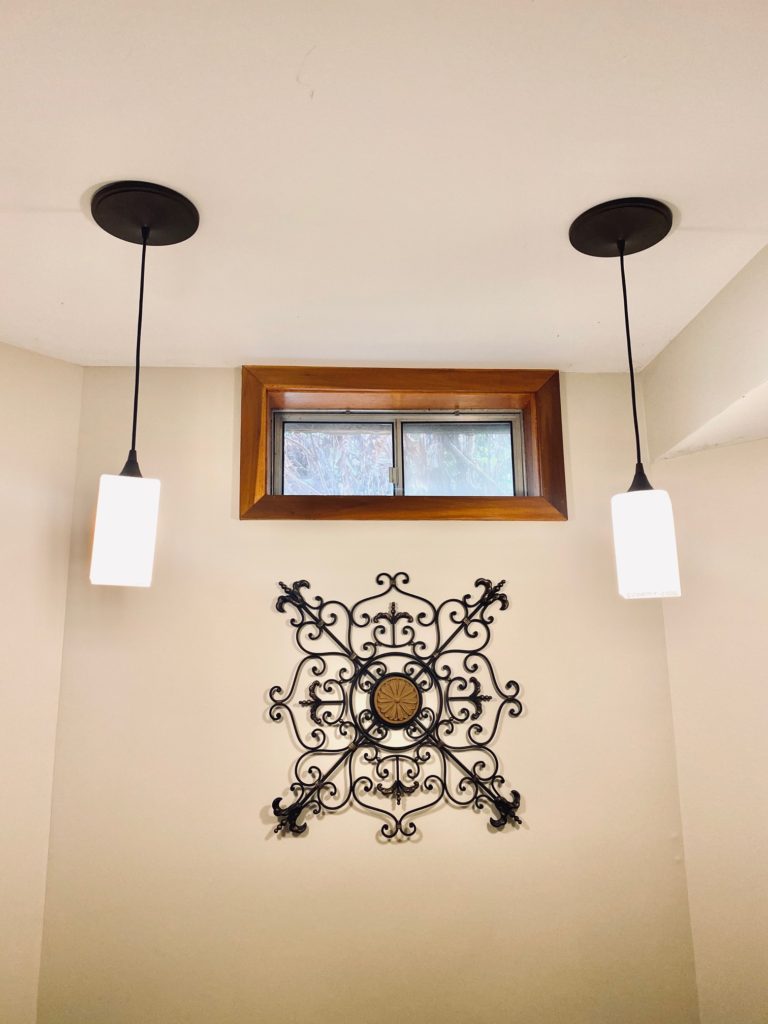
Looking for a quick and easy lighting update and already have recessed lights in your home? With a recessed to pendant light conversion kit HERE, you can update the lighting decor in your space as easy as screwing in a light bulb! It really is that easy! I’m always looking for ways that I can update my home easily and inexpensively. This easy DIY hits both those marks! I’ve converted recessed light to pendant lights over the breakfast nook table, over the tub in the master bath and now doing the same in the basement over the poker table. It makes a big impact for very little skill, knowledge and expense. If you can screw in a light bulb, you can do this easy update yourself in your own home! Here is a DIY guide to convert a recessed light to a pendant light. See the amazing transformation before and after below!
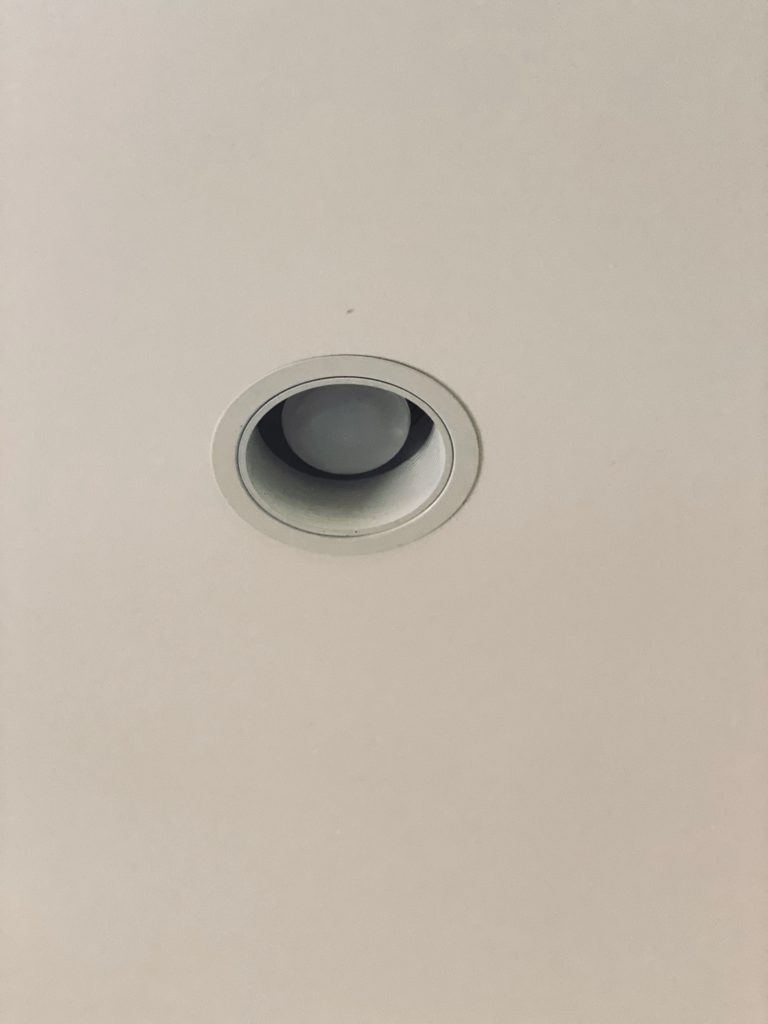
Safety First
To begin, the light and/or electricity to the fixture should be turned off. If there is a light bulb in the recessed light, remove it (make sure it has cooled of first)!
Important!
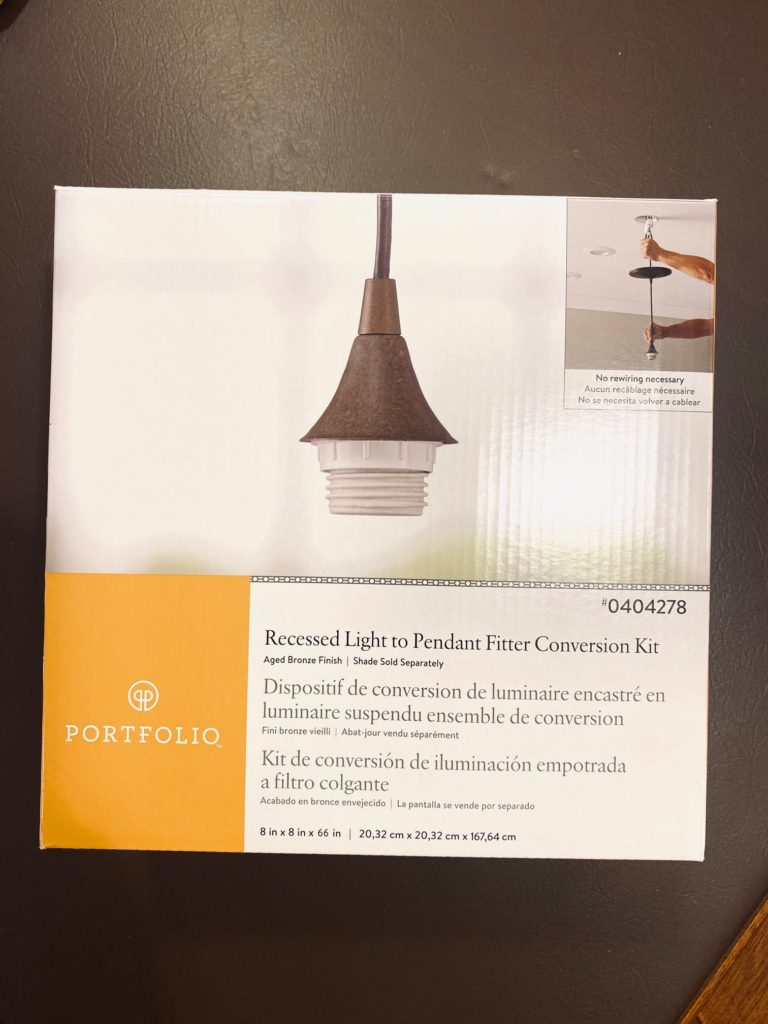
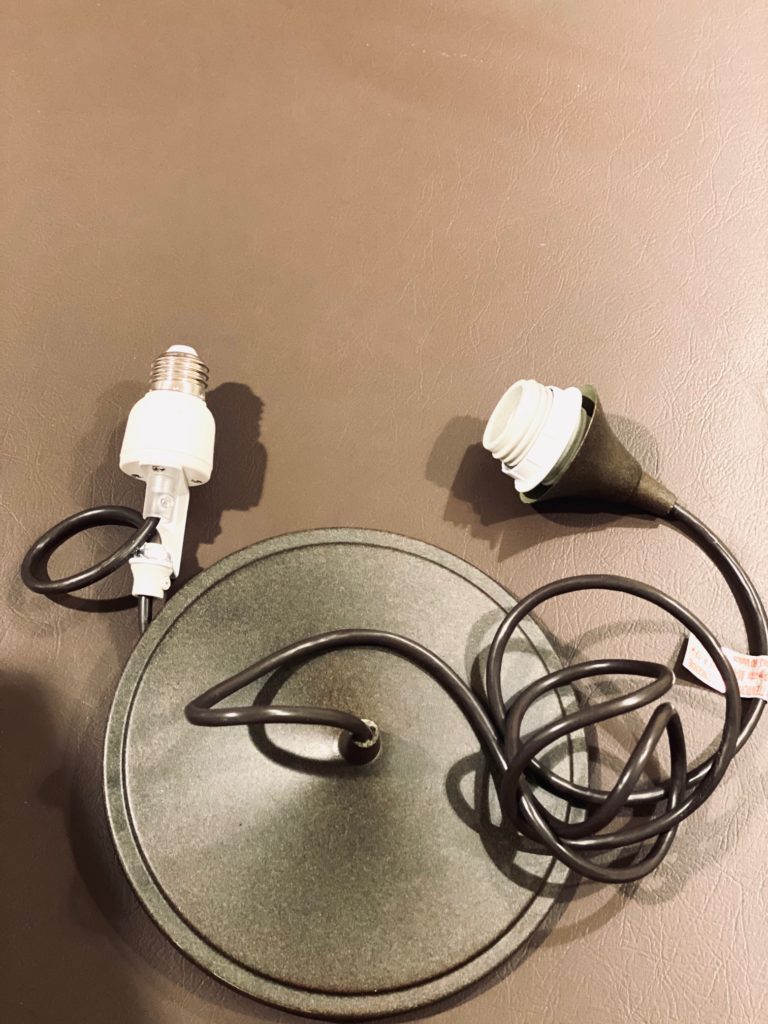
Purchase the CORRECT conversion kit. There is a hard wire kit available that you DO NOT WANT (unless you have electrical knowledge). The hard wire conversion kit is not as easy to install as the fitter conversion kit. The fitter conversion kit HERE is as easy as screwing it into a light bulb socket. NO electrical wires to deal with. Unboxed, it will look like the photo on the right. One end is for a pendant shade and light bulb and the other end screws into the existing recessed light socket.
Make Adjustments
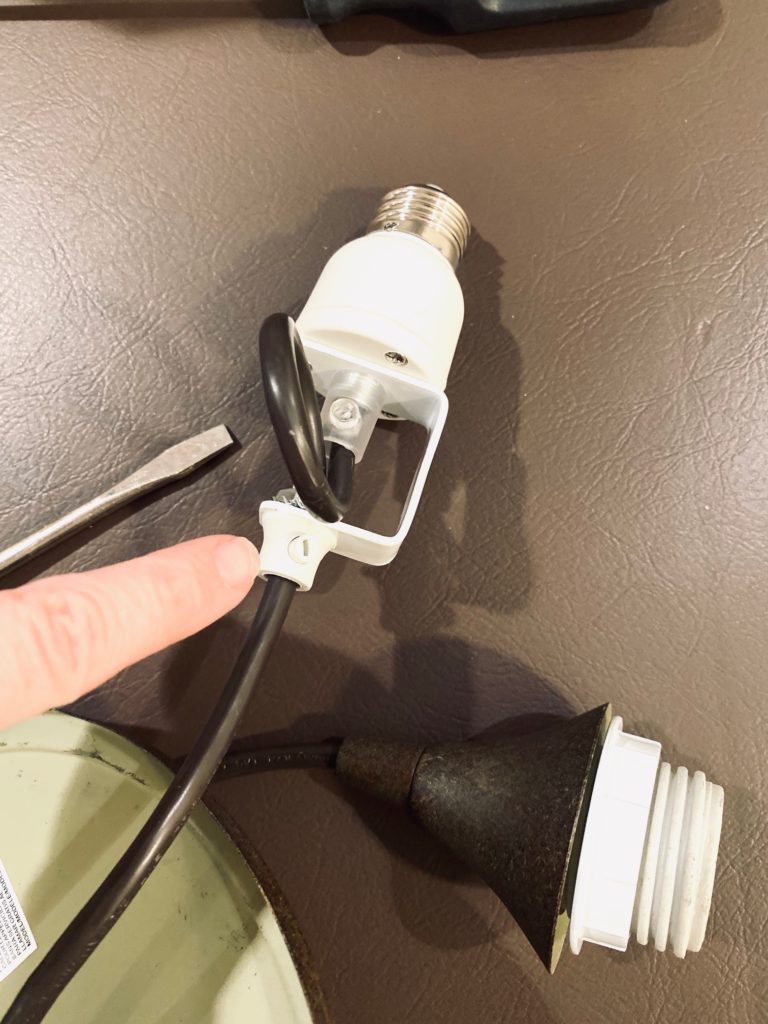
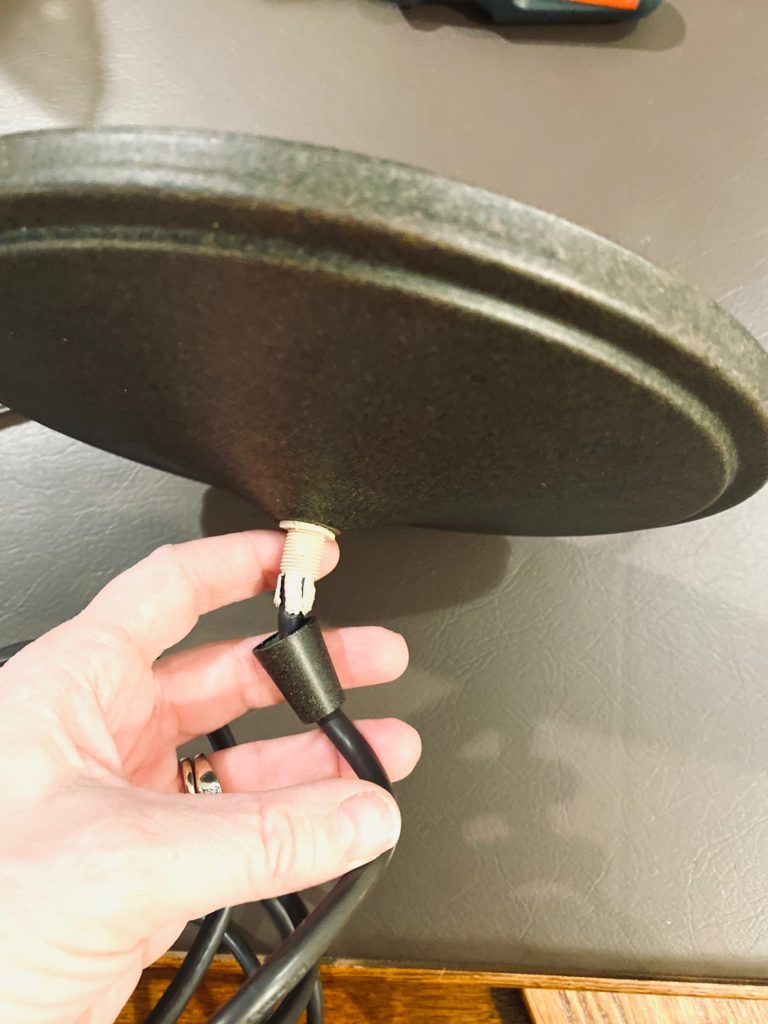
Before installing the conversion kit into the light socket, first decide how long the drop of the light should hang. It is adjustable by using a small flat head screwdriver to loosen the screw (see illustration). After loosening the screw, adjust the cord to the desired height then tighten the screw (picture on left shows where the screw is located). Once you decide the height (note, if you install the light and decide you want it higher or lower, it can easily be adjusted so don’t worry too much about getting it perfect). Next, on the other end there is a plate that sits flush against the wall. There is also a small triangle shaped nut. Unscrew that in order to move the plate along the cord. Again, this is for adjustment of distance of the drop of the cord from the ceiling to the pendant.
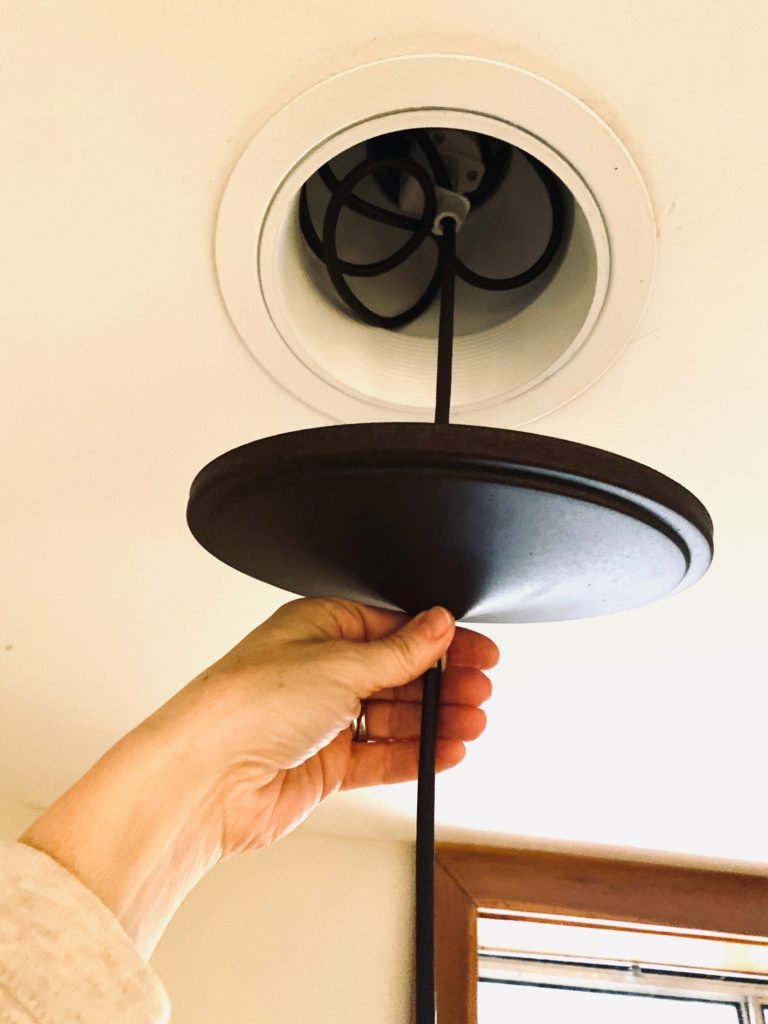
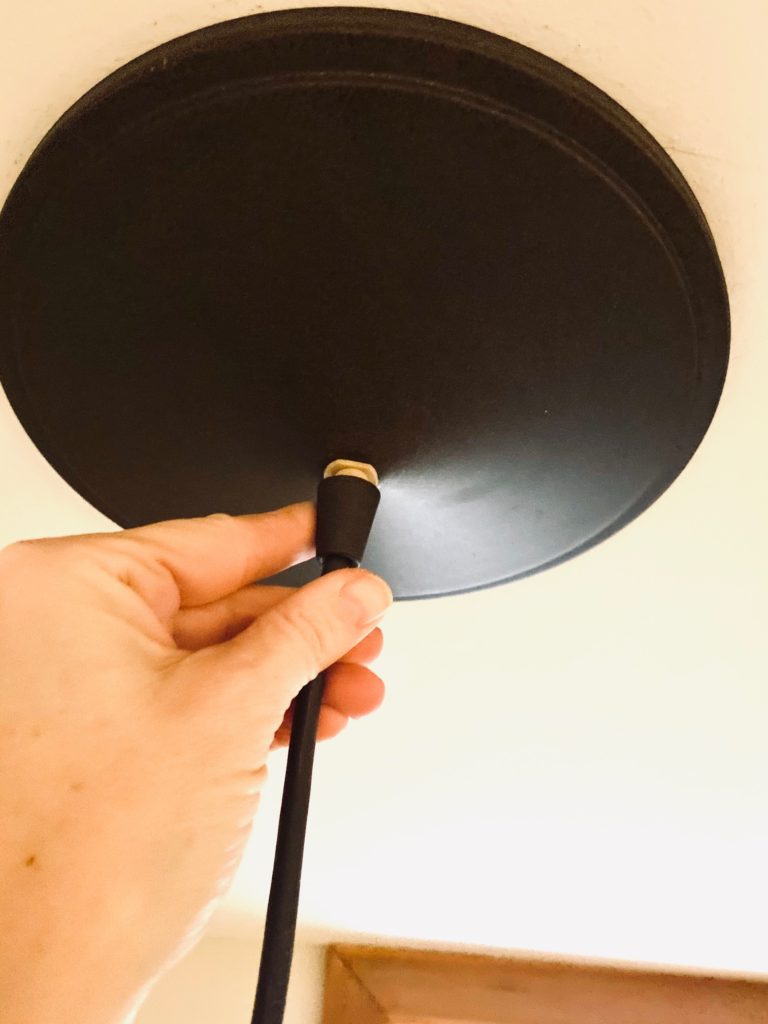
Install Conversion Fitter
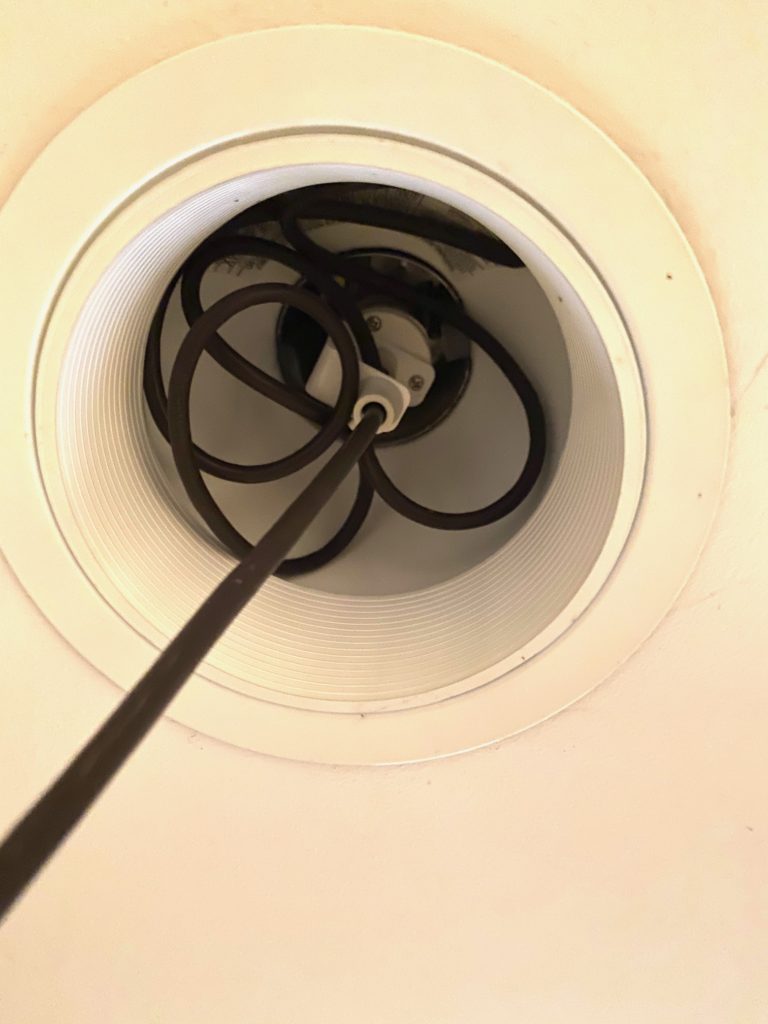
Once the cord length has been adjusted, screw in the one end of the conversion kit (the end that looks like the end of a light bulb) into the recessed light (as if you were replacing a burned out bulb. Don’t over tighten. The excess cord can be shoved into the recessed light. Next, slide the ceiling plate flush to the ceiling and tighten the triangle nut to hold it into place.
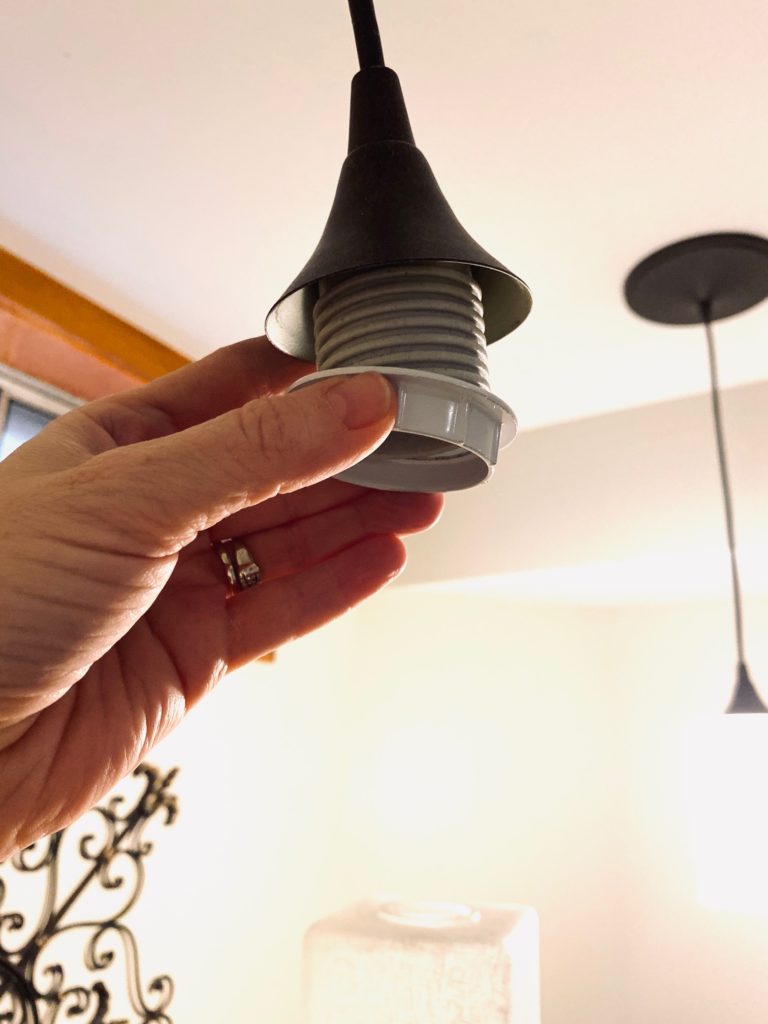
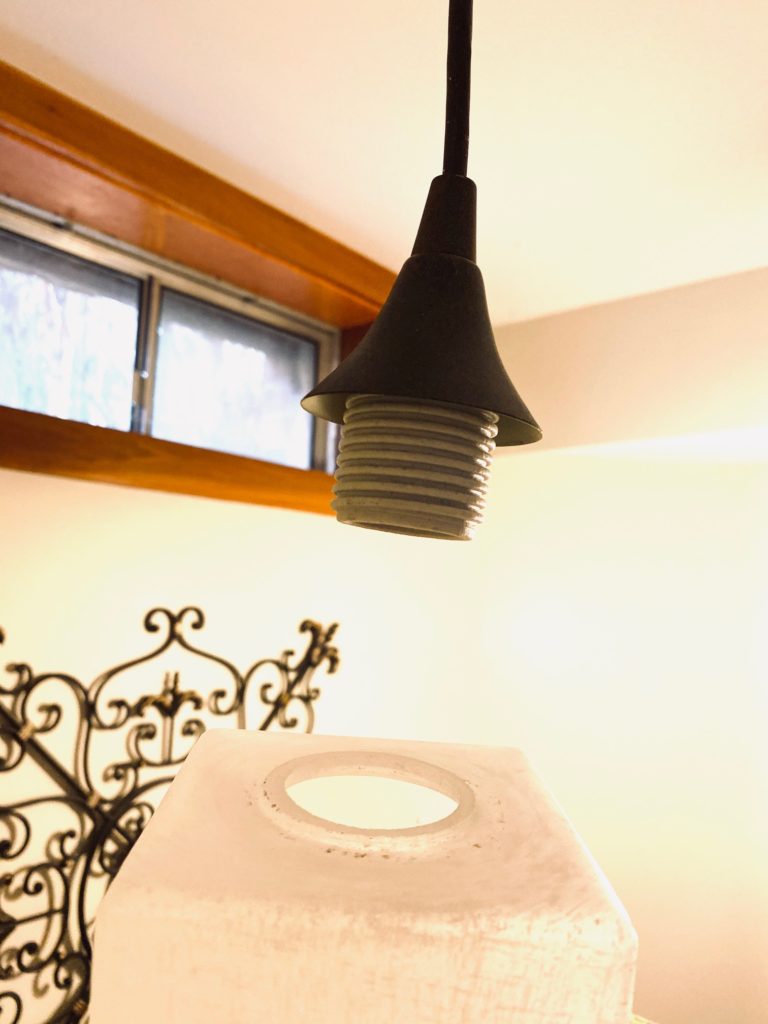
Adjust the drop length
Once the conversion kit is secured into the recessed light and the plate in in place, step away and see if you want to make any adjustments to the drop length of the pendant (keep in mind you will be installing a shade). If you want the drop distance from the ceiling to be longer or shorter, make the adjustments at this time. After the drop distance is where you want it, unscrew the fitting on the other end of the kit. This is the (usually white) ring that will secure your pendant shade. Once it is unscrewed and removed, place the pendant shade of your choice onto the end and hold it in place by screwing back on the fitting.
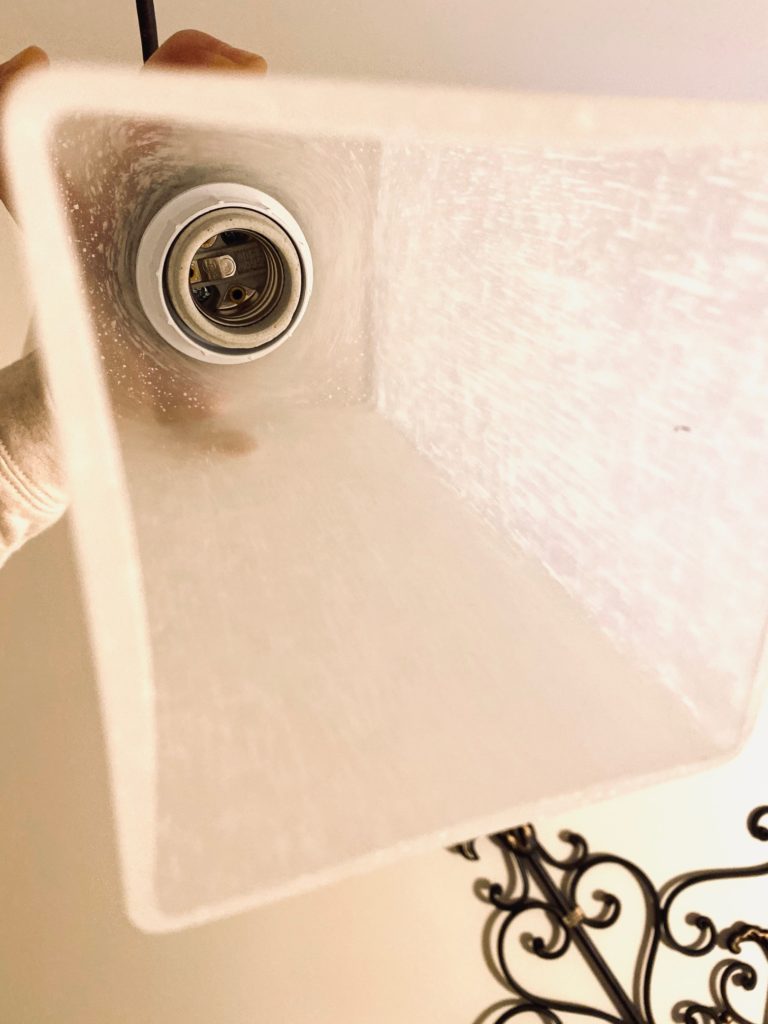
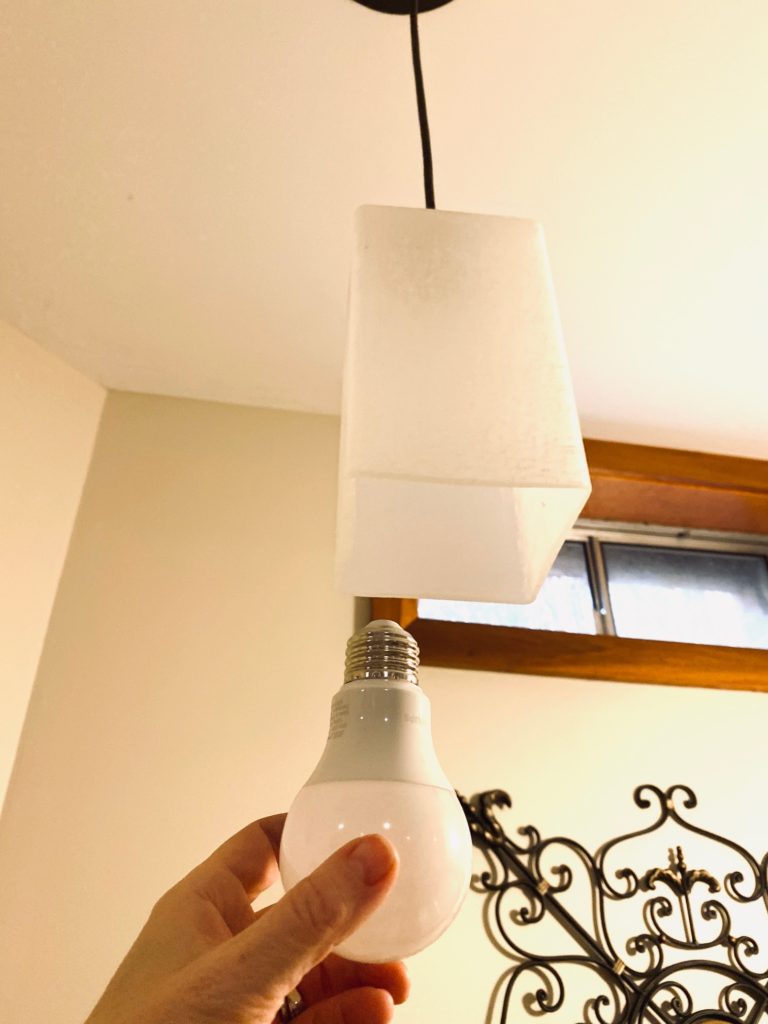
Pendant Shade Installation
Replacement pendant shades can be purchased at any home improvement store. They come in all shapes, sizes and colors. Some examples of replacement shades HERE. Once the pendant shade is placed onto the conversion fitting and secured by the ring, put a light bulb into the new pendant.
Before & After
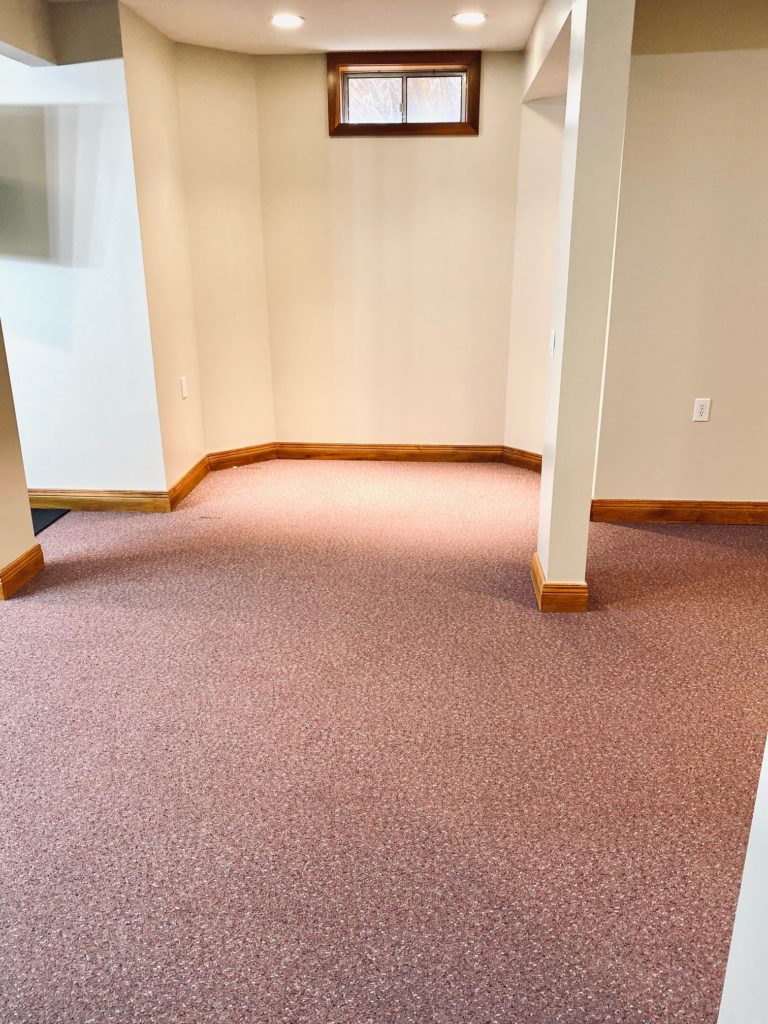
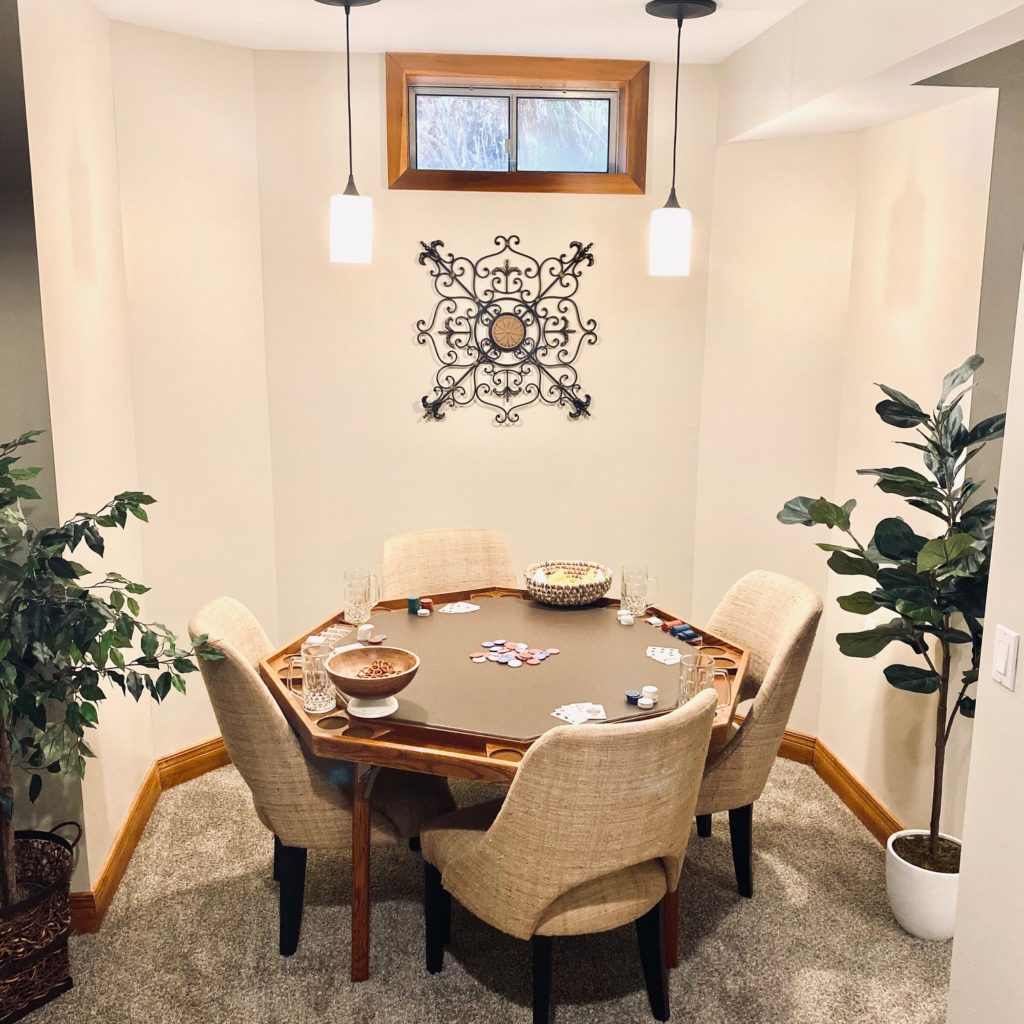
SHOP THE POST
Light Fitting Converter / Pendant Shade (I have this one but in square )/ Check out this all in one kit HERE and HERE / 62″ fiddle leave tree in white pot / Poker Set / Beer Mugs / 57″ Oak Poker Table / 3″ Ficus Tree /

