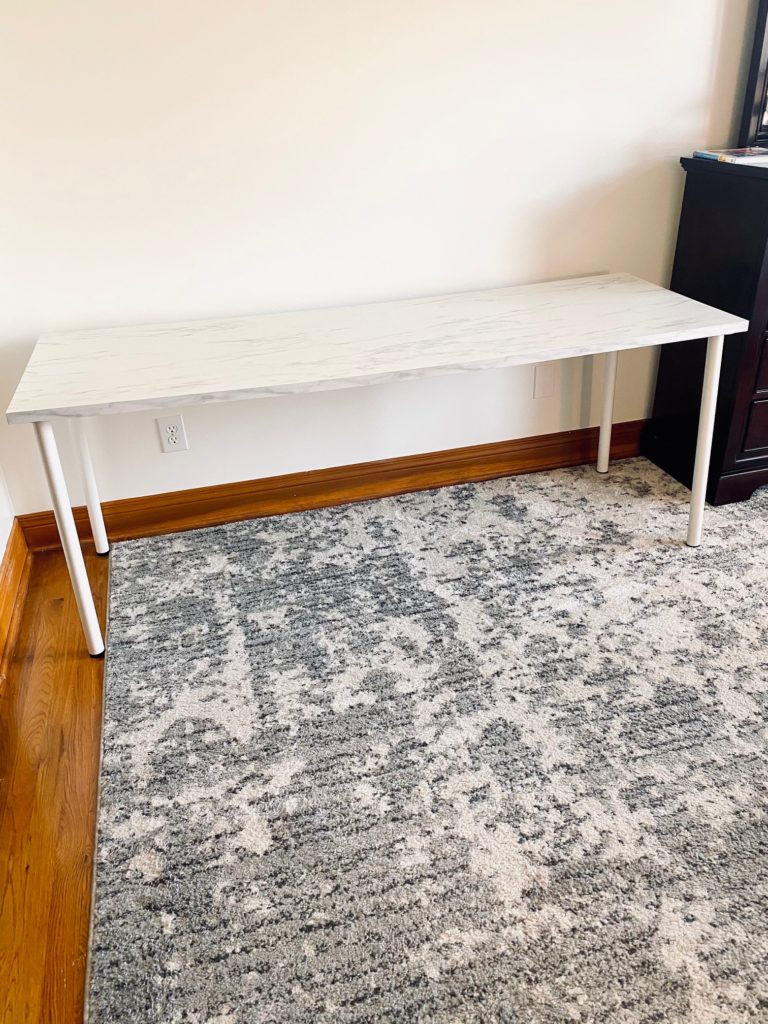
This may be one of the easier DIY projects I’ve put together and shared. In terms of getting the biggest bang for your buck, this IKEA desk hack is a DIY for a beginner! The desk for two (or three) is at the top (it’s both easy to assemble and inexpensive). Only three parts are needed and the overall time and material cost is very low. It’s easy to assemble and the end result is a piece of furniture with high functionality and style that far surpasses the time and money invested to make it. If you are a beginner DIYer then this project is for you! The end result will impress anyone who sees it when you tell them “I MADE THIS!” So lets go! I’ll show you how easy it is!!
The parts (only three!)
Just three items are needed for this DIY desk for two. All the parts are from IKEA.
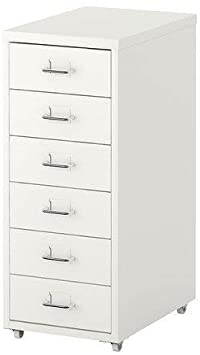
1. HELMER (cabinet)
The Helmer cabinet from IKEA costs $40. It comes in black, white, blue, gray and white. This is the least expensive option I found for a cabinet that was the correct measurements and had the drawer space I was looking for. You can definitely substitute other cabinets (there are much nicer wood options available -but will cost more $). Just make sure the height of whatever you go with is 27.5 inches tall. The Helmer is all metal (and as you know from IKEA it must be assembled). In total, the assembly of this piece took 30 minutes and the instructions were simple and clear. The Helmer cabinet measurements assembled (with wheels on) are 27 1/8″ high x 17 3/8″ deep x 11″ wide.
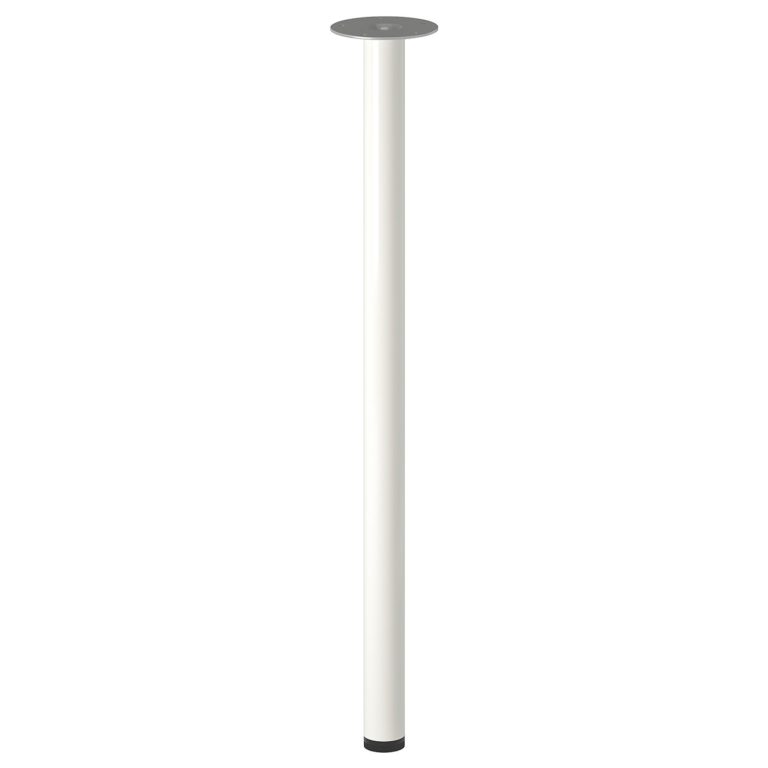
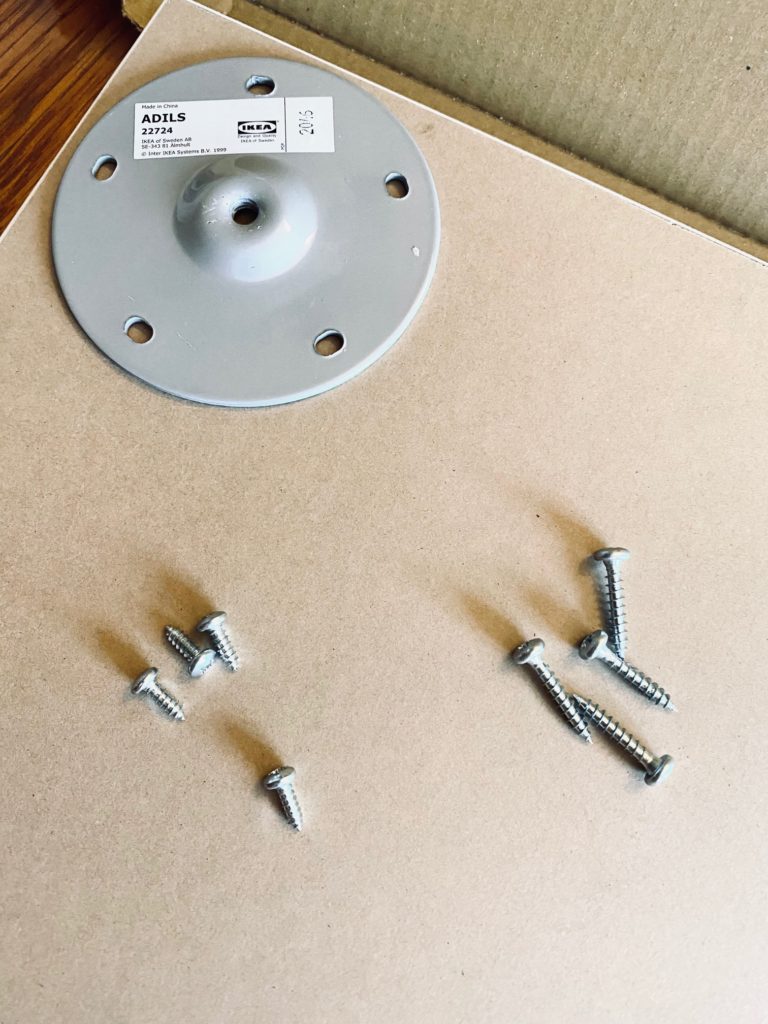
2. ADILS (legs)
You will need four Adils from IKEA for the DIY IKEA desk hack. Conveniently, the legs come in the same colors as the HELMER (white, black, blue and gray). The legs cost just $4 each! They have adjustable feet for uneven floors and are easy to assemble. Once the plate is screwed in, the legs simply screw into the plates.
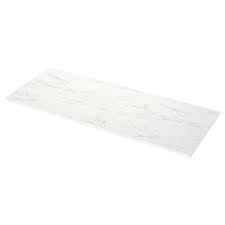
3. EKBACKEN (counter top)
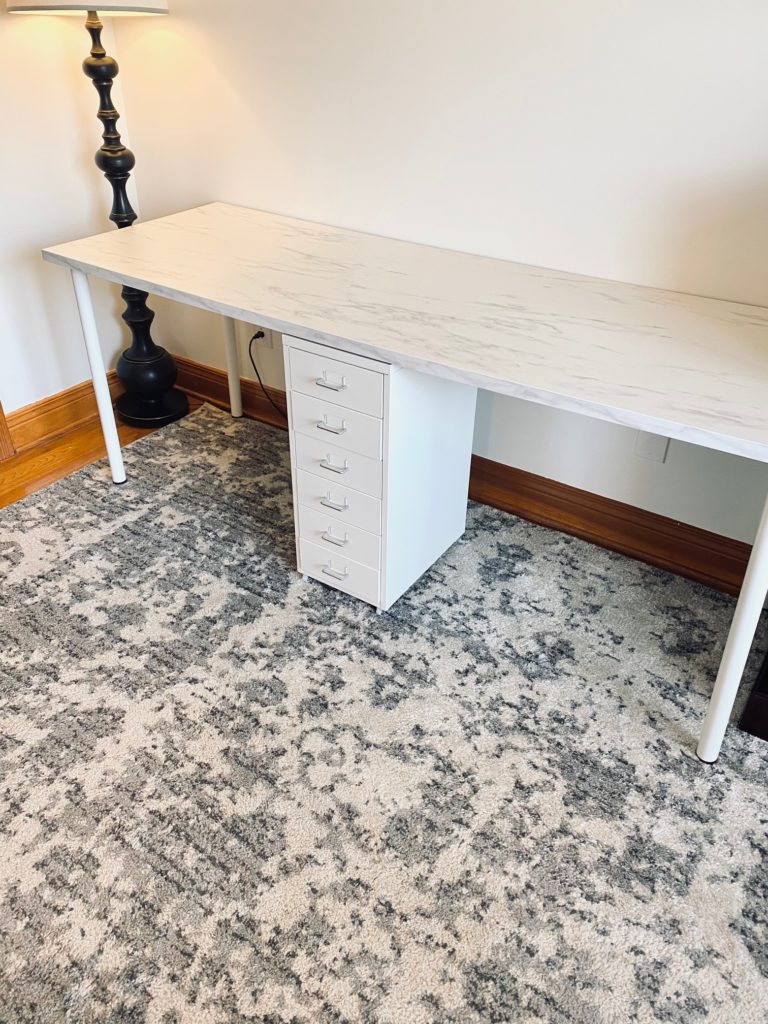
I am so impressed with all the counter top choices at IKEA. The quality is amazing (the material is a nice laminate) and the prices are so low! There are several color options available. The Ekbacken that I purchased is white marble (white with gray veining). Check out the IKEA website HERE for all the color countertop options. They come in two lengths 74″ and 98″. I purchased the 74″ length for my DIY desk hack for two. However, you could easily do this DIY IKEA desk hack for three with the large one!
Putting it together
Get ready to be wowed by how easy this is. Especially if you are starting the desk with the Helmer already assembled. In total, the actual desk takes about 10 minutes to assemble! Yes, it’s that easy! I put together a REELS video to show how easy the assembly is. Click button to watch!
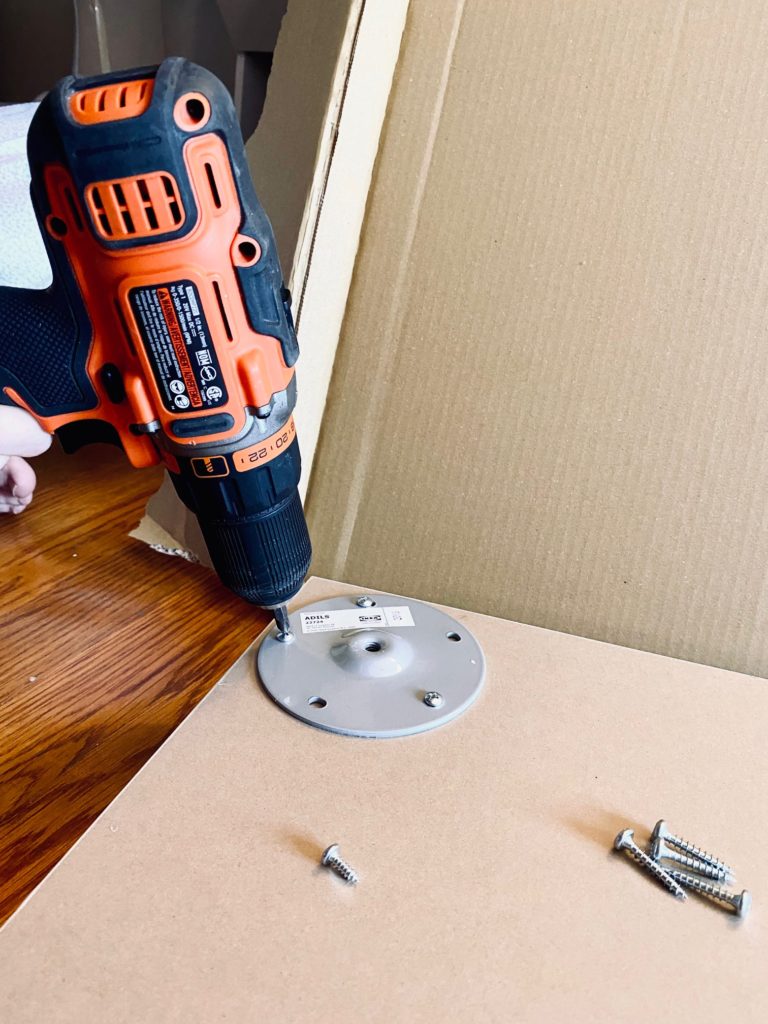
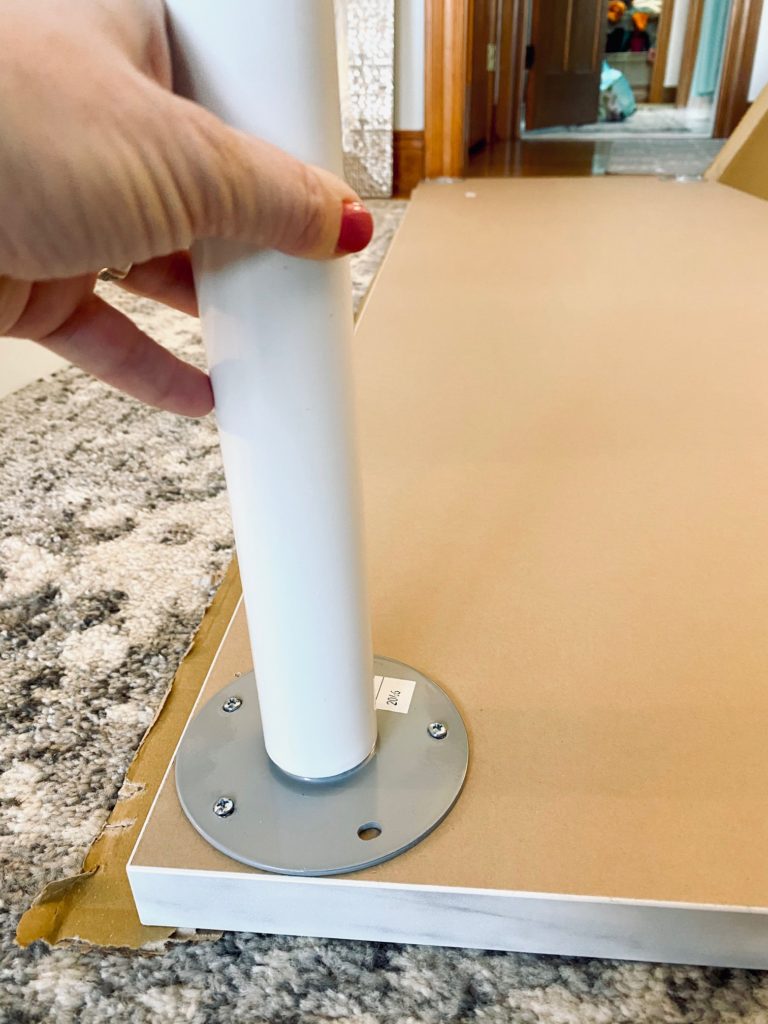
1. Screw metal plates onto the four corners of the underside of countertop
IMPORTANT STEP! If there is anything to read in this entire blog post on this DIY it’s what I’m going to say next about the screws. DO NOT USE THE SCREWS THAT ARE PROVIDED WITH THE ALDIS (legs). They are too long and will pop out the top of your counter. This will RUIN your counter top. Easy solution is to use shorter length screws (purchased separately).
Longer screws on the right came with the legs. DO NOT USE. Screws on the left (shorter) are what I used for this project instead.
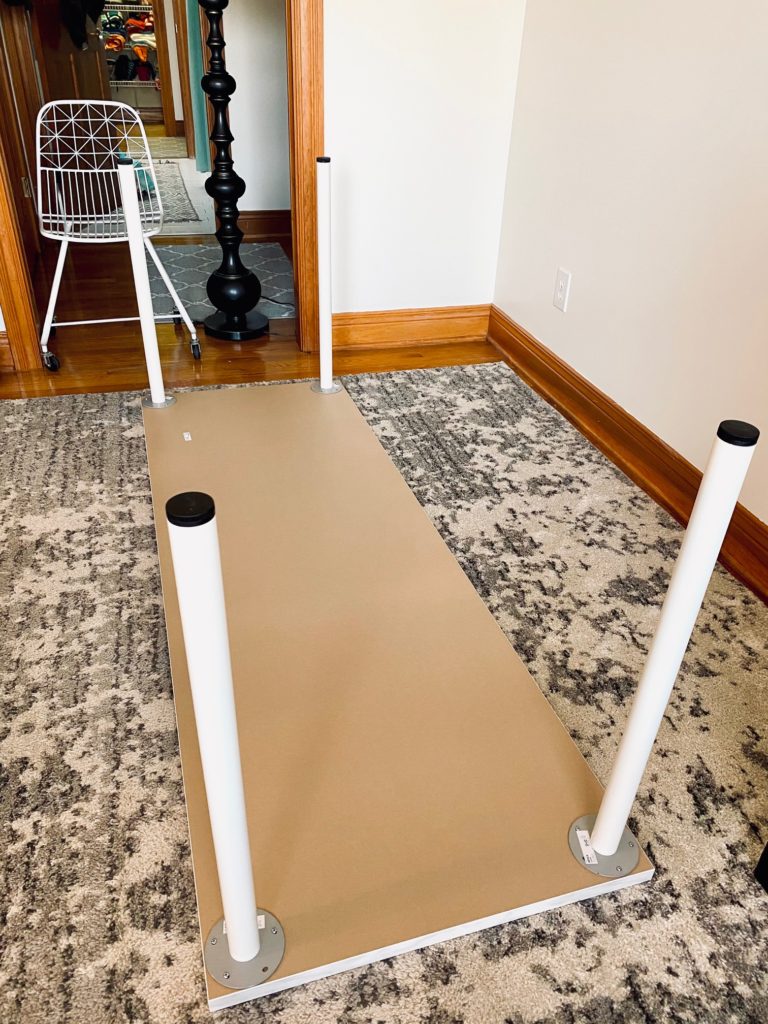
2. Once plates are attached, screw the legs into the plates.
3. Once all four legs are screwed into the plates, get a friend to help you turn the table over on its right side.
4. Slide the assembled Helmer (cabinet) under the desk in the middle.
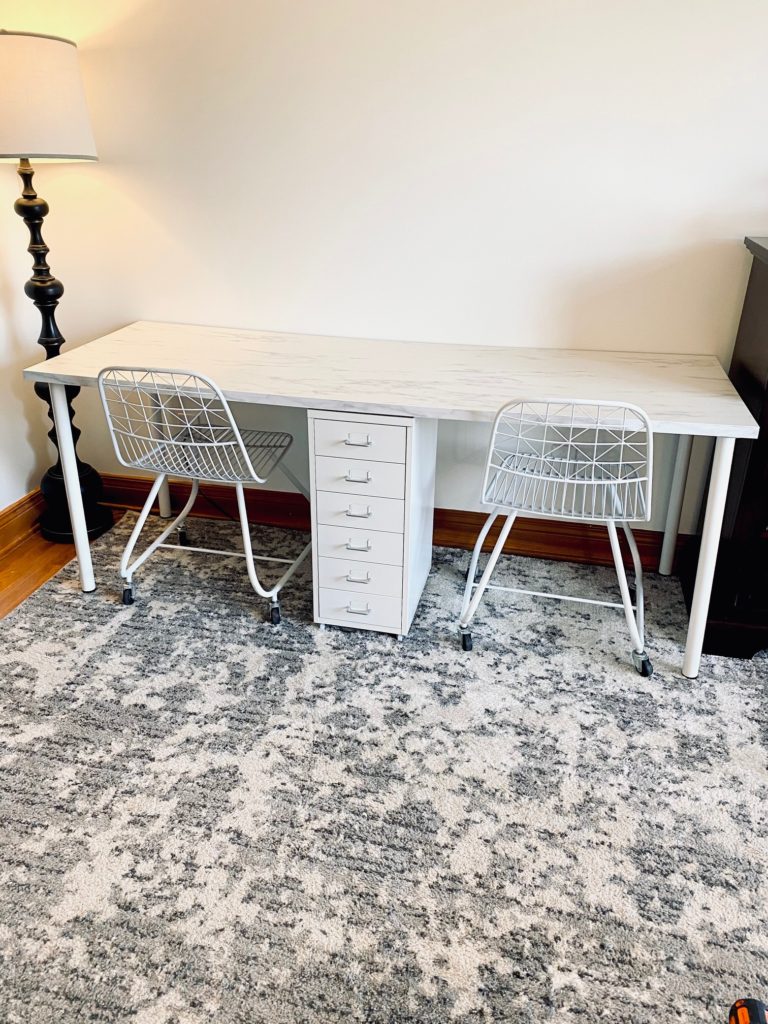
5. Add chairs and decor
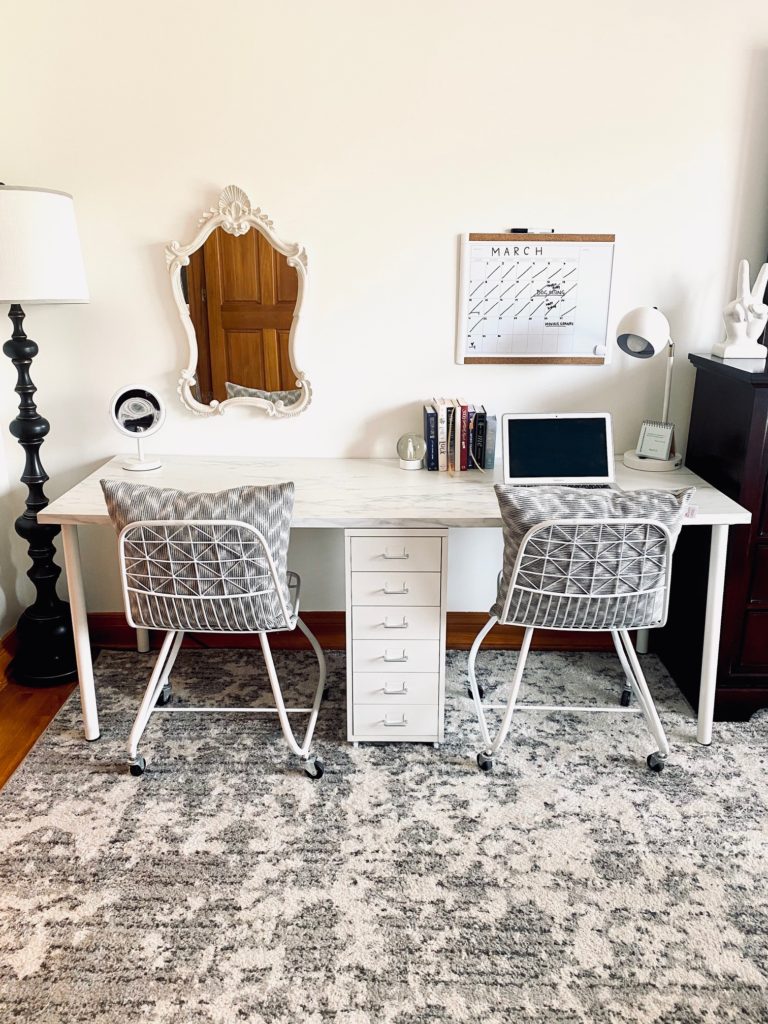
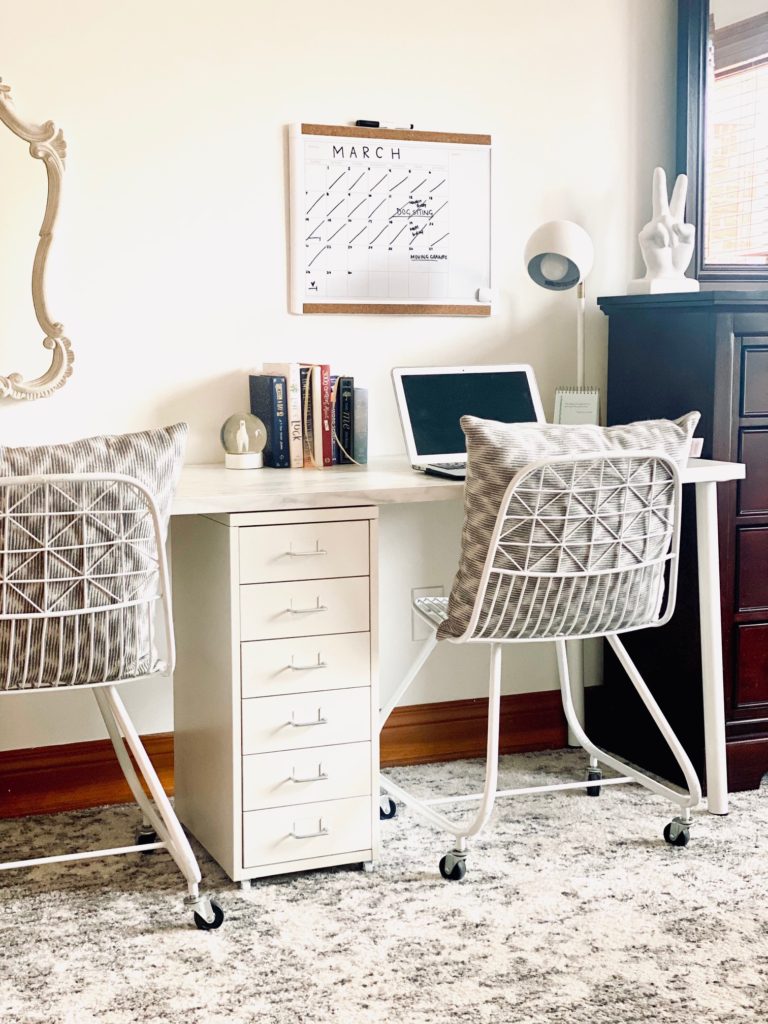
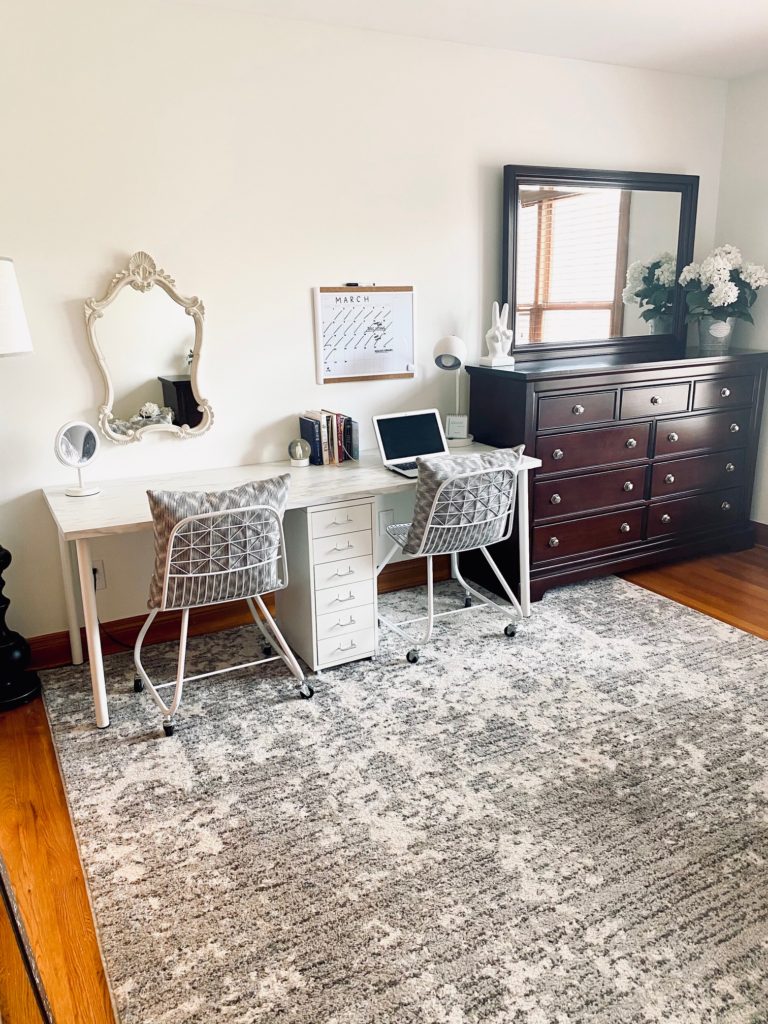
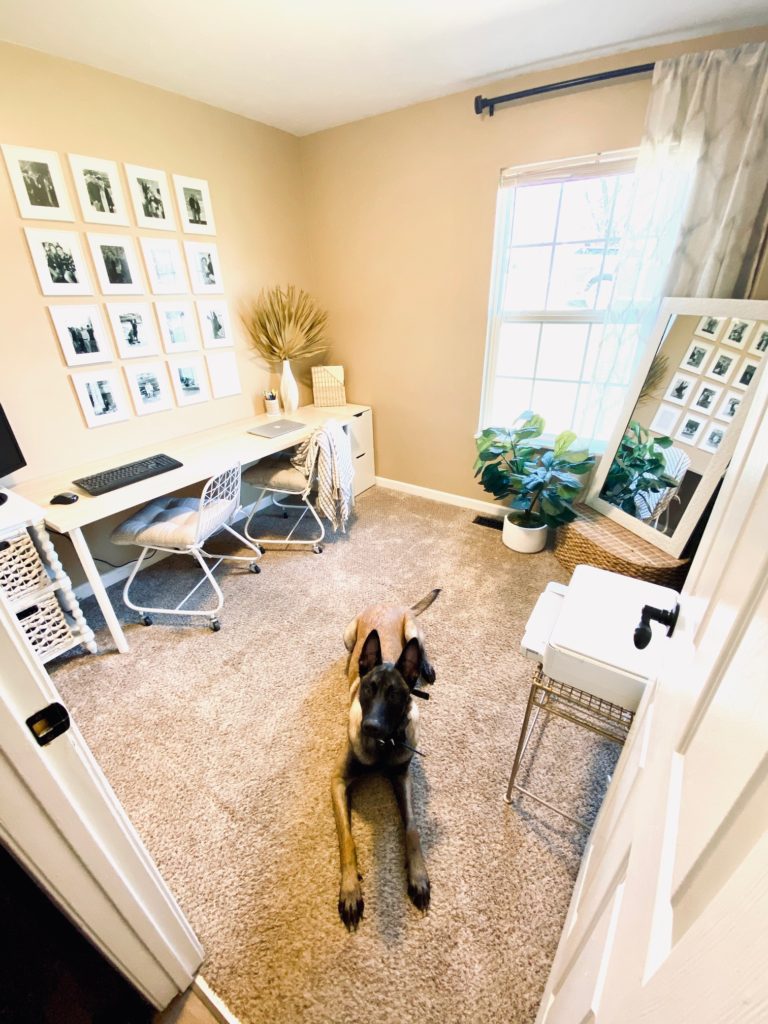
This desk was made for my 20 year old daughter’s room who is currently in college (University of Louisville). Therefore, the DIY IKEA desk hack for two is being used as half homework/desk/study side and the other half is being used as her makeup/hair station. My other daughter who lives in Knoxville and is currently in law school just made this desk for her house. She used half the desk as her study space and the other side is used by her boyfriend for his home office. Pictures below!
Ella did the DIY IKEA desk hack for two first and shared it with me (there is no denying she is my child)! She chose to put the cabinets/drawers on the ends of the desk instead of in the middle underneath. That handsome fella is my grand-dog Hank.