I was thumbing through the Serena & Lily catalogue and a cute rope mirror caught my eye HERE. What also caught my eye was the price tag. It was $500! Ouch. I started searching the internet for some less expensive dupes and came across similar options at Wayfair HERE, HERE & HERE. However, the dupes were all around $200 each so I decided this was definitely something I could DIY for a whole lot less and create a similar nautical inspired looking mirror that would be perfect décor for that coastal or beachy inspired room. Here is my rope mirror DIY!
How I did it
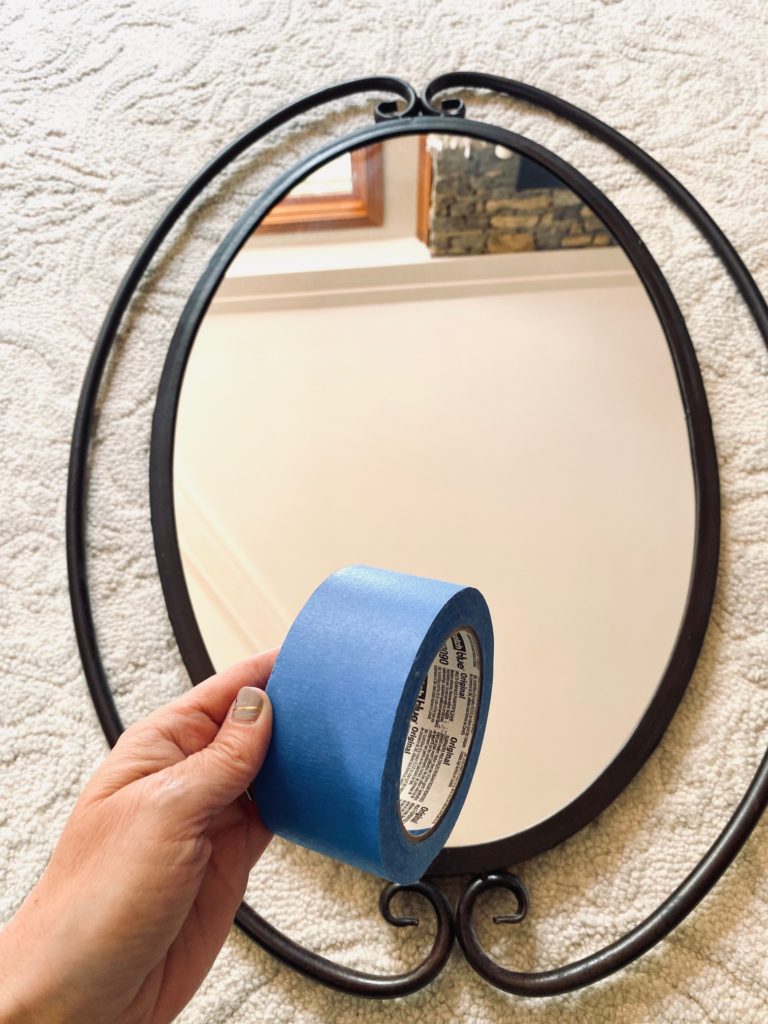
I knew I had two oval shaped mirrors in storage that I purchased several years ago at Lowes HERE. They were dark, metallic and matched nothing in my home which is why they ended up in the attic. However, after seeing the Serena & Lily $500 rope mirror I knew I could refresh those attic mirrors into something I could use in my home. I love being able to give old things new life!
BEFORE: These mirrors didn't match my home aesthetic. However, would work great for my rope mirror DIY project!
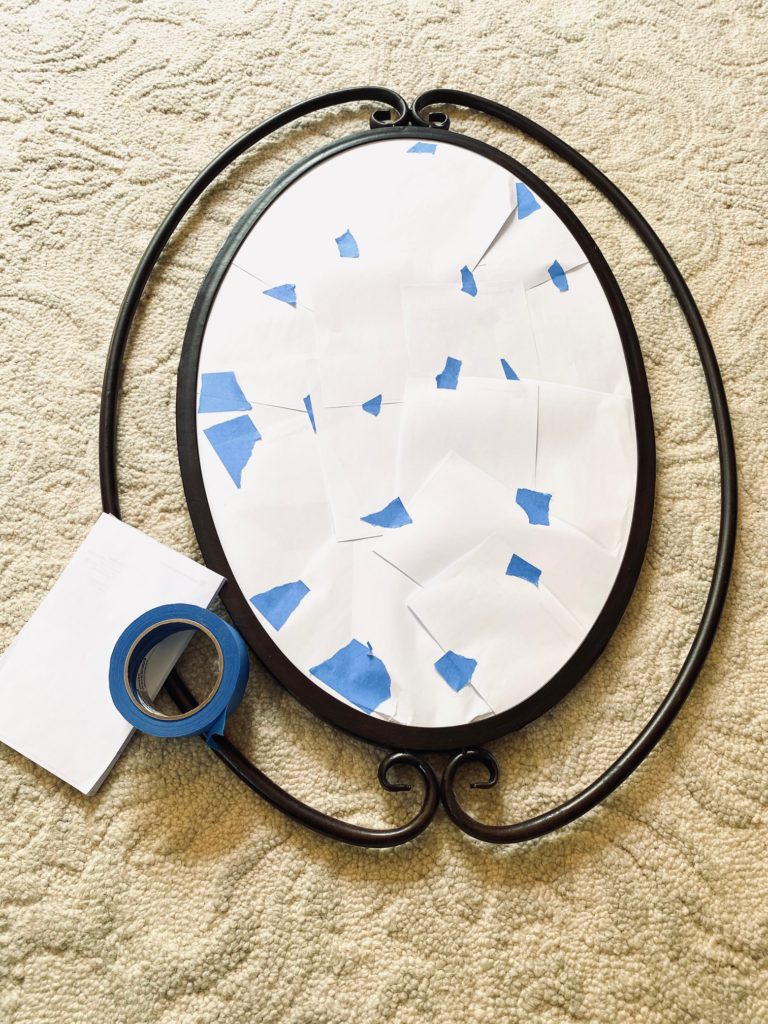
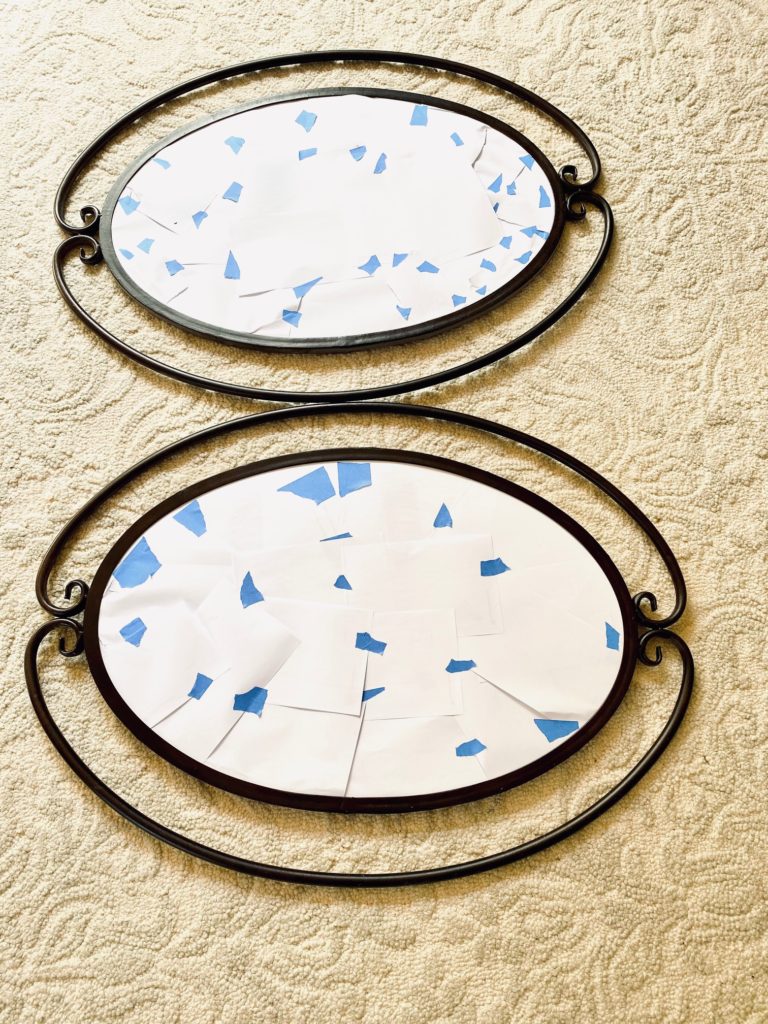
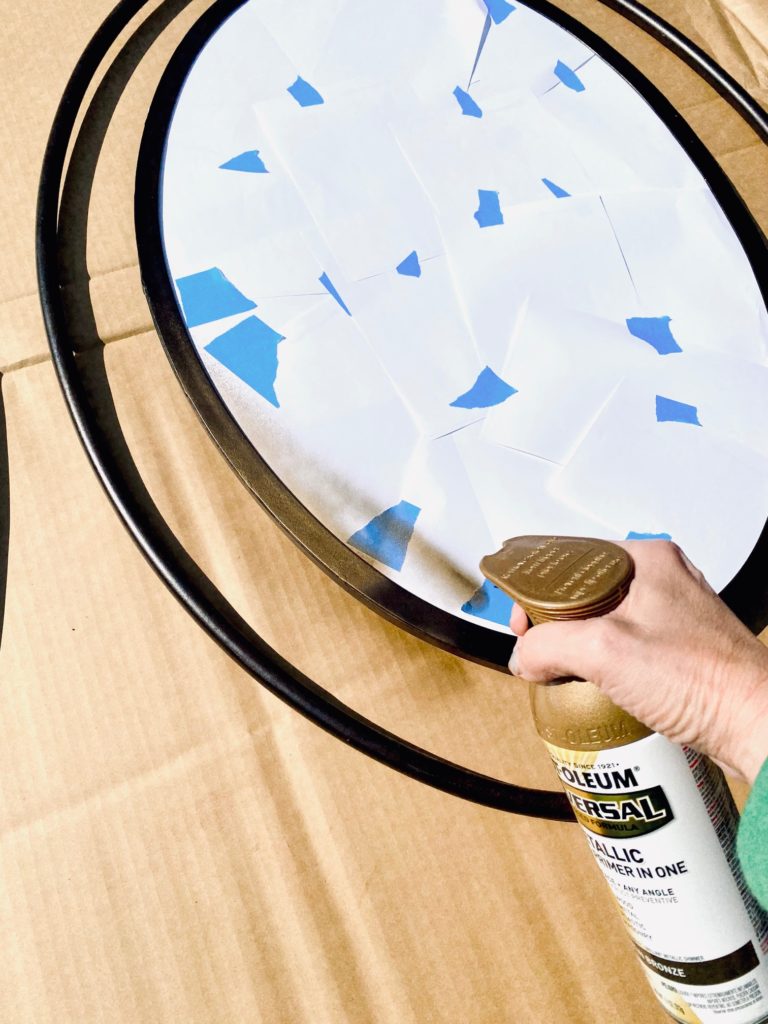
First step is to protect the mirror. Used painters tape and paper to cover it up.
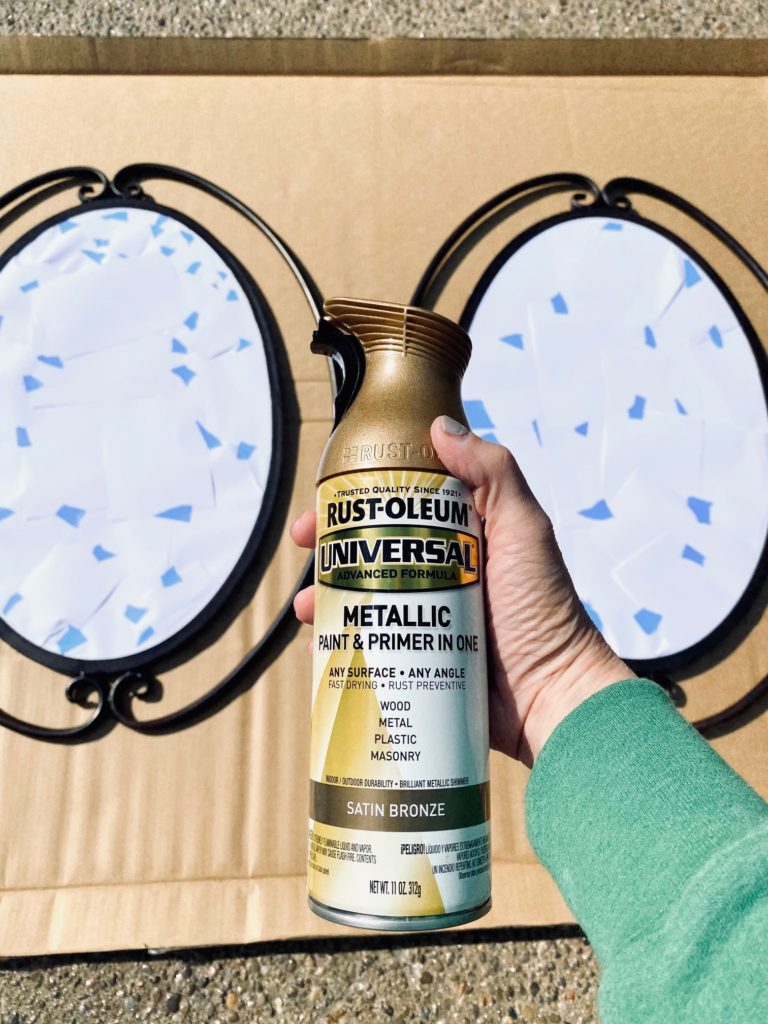
Next, I took the mirrors outside and spray painted them to desired color. I used stain bronze (I wanted to go a shade lighter but settled on this color since I already had it in the garage).
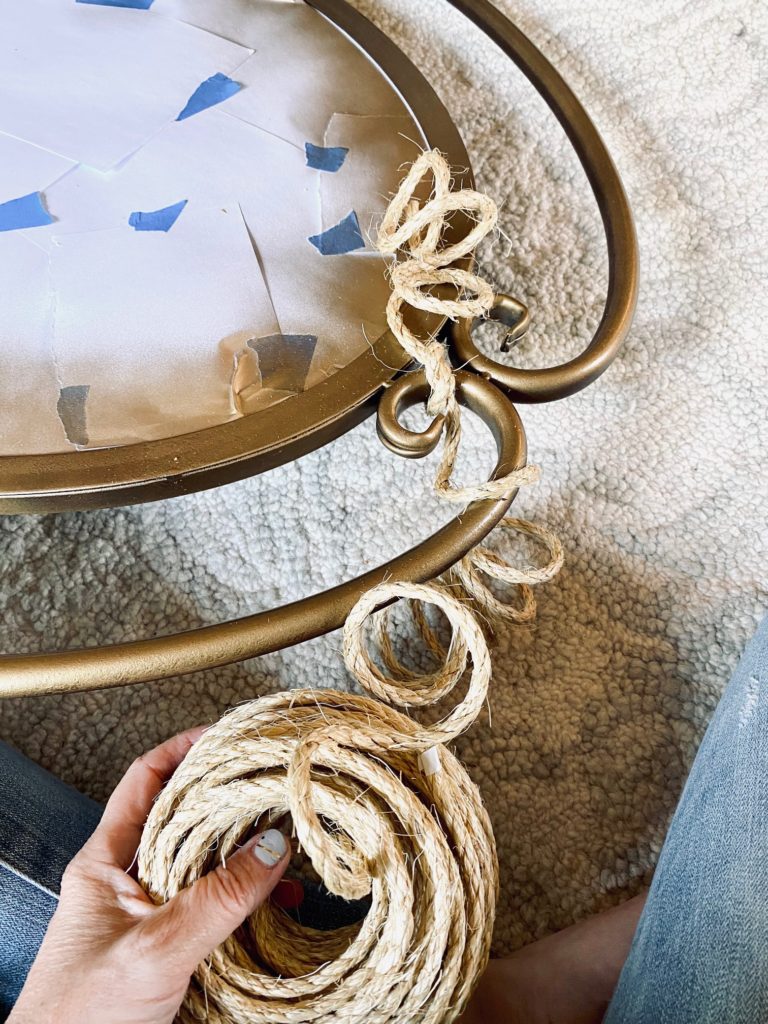
Once dried I took back inside and begun to string the jute twine around the mirror. Tied it off at one end for a starting point.
This is the size of rope I used however, using a larger diamter rope would also work. It is personal preference what size rope you use.
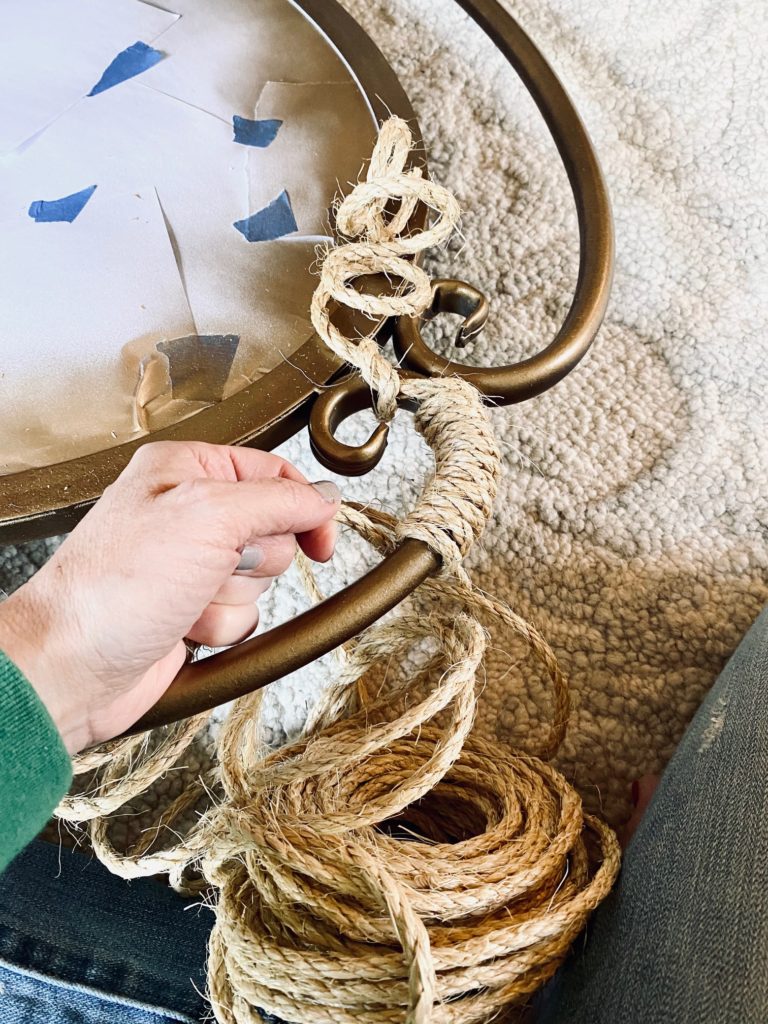
I learned that wrapping the rope around the mirror frame was easier with a 2nd person. One person to wrap and the other to manage the extra rope and keep it from winding and twisting up.
As I tightened and placed the rope where I wanted it, the other person worked ahead of me wrapping the ball of rope around and around. This step would have been easier with a larger diameter twine. This step was the most time consuming. In all, putting the rope on one mirror took about 30 min with two people working together.
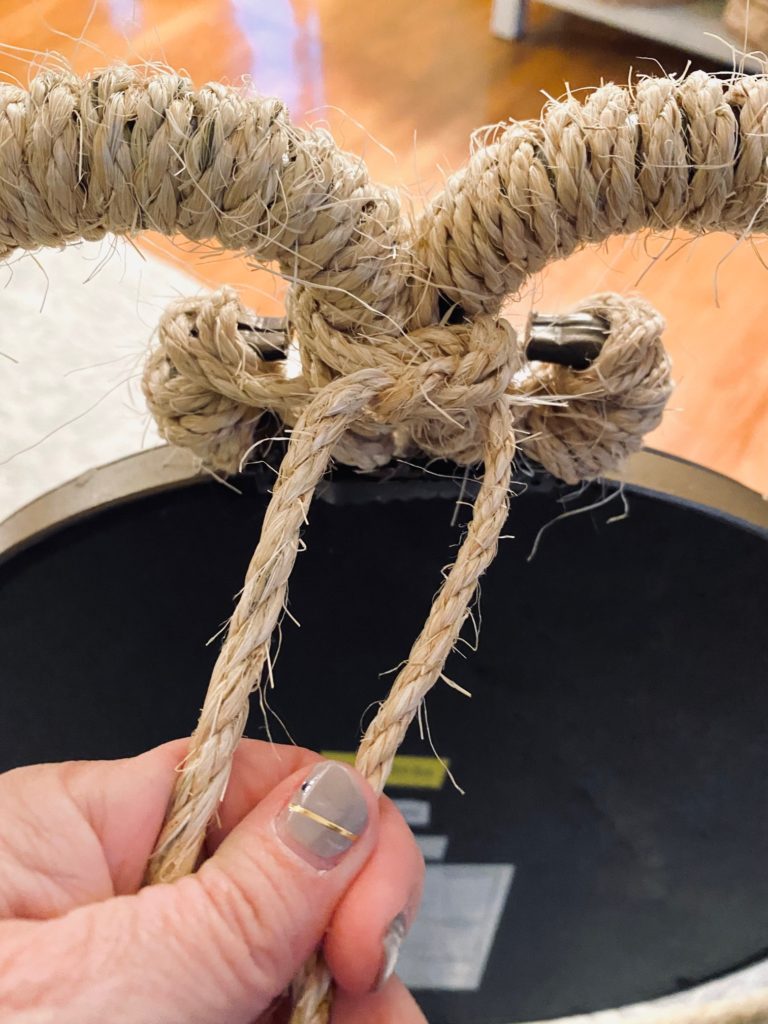
Once the rope was tightly wrapped around the entire mirror, I tied off the ends on the back side of the mirror.
The last step was to take a pair of scissors and trim the loose rope hairs from around the mirror. Again, I do not think this step would be necessary with larger rope or twine.
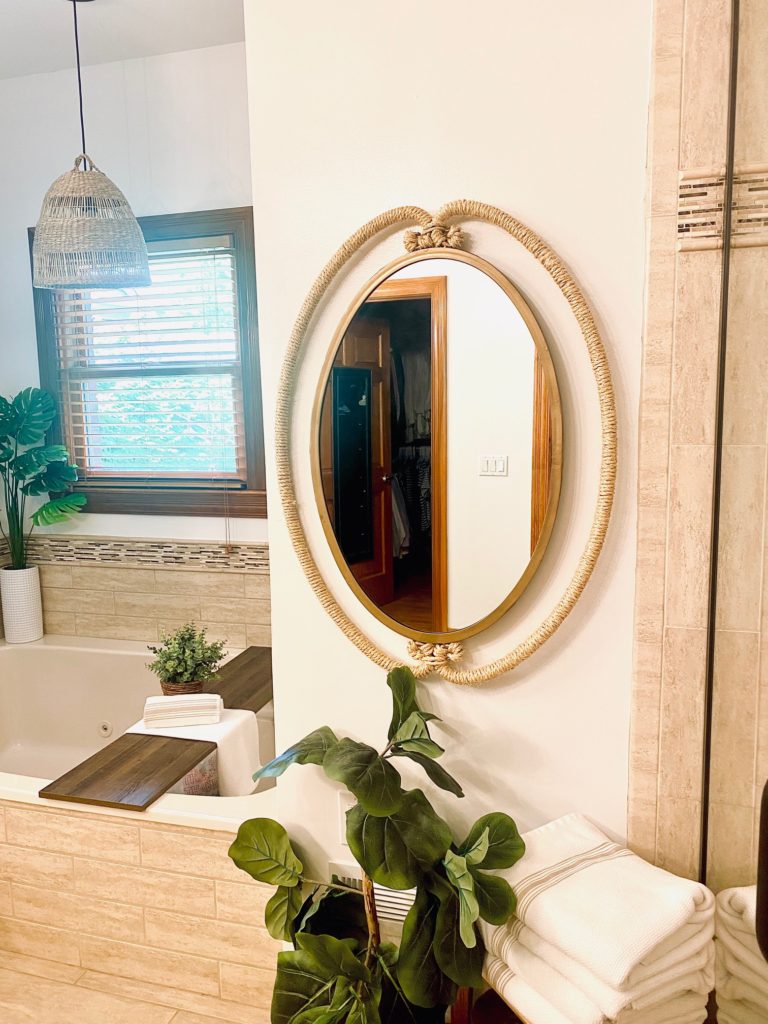
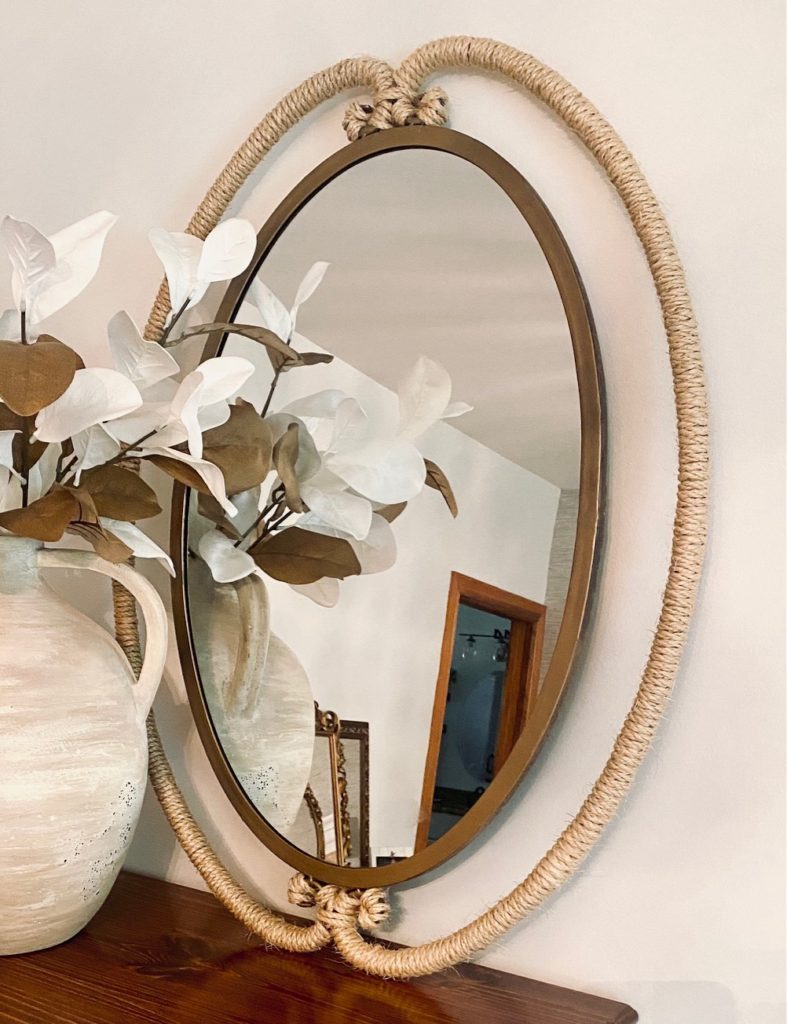
The finished product! A pretty great rope mirror DIY that updated an unused mirror to a cute decor accent with texture and style!
After the rope mirror DIY the "new" updated mirrors go in just about every room of my home! Shown here in the master bathroom. I love the beachy, coastal nautical vibe they bring into my home!