Last week I posted before and after pictures from a DIY bathroom refresh. The transformation was astounding considering it was done on a dime with no major construction. Check out the blog post on the entire project HERE. One way to keep expenses down on any home project is to do it yourself (DIY). Many woman are more than capable of doing home projects themselves but are stunted in knowing exactly HOW to do it. That’s where I come along! I enjoy sharing simple and easy DIY home projects anyone can do that will save money and help make a home more usable and functional. For instance, in the DIY bathroom refresh last week I had to do some DIY wall repair. Here is a quick tutorial how I did the DIY wall repair myself!
Fixing damaged walls are easy to repair
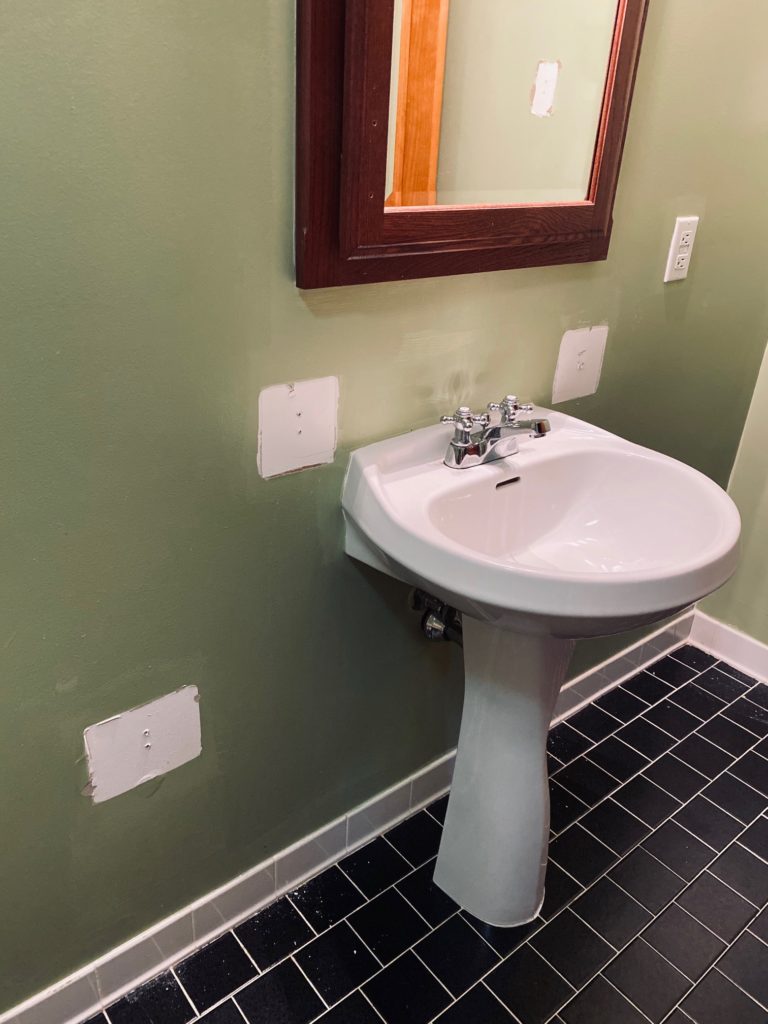
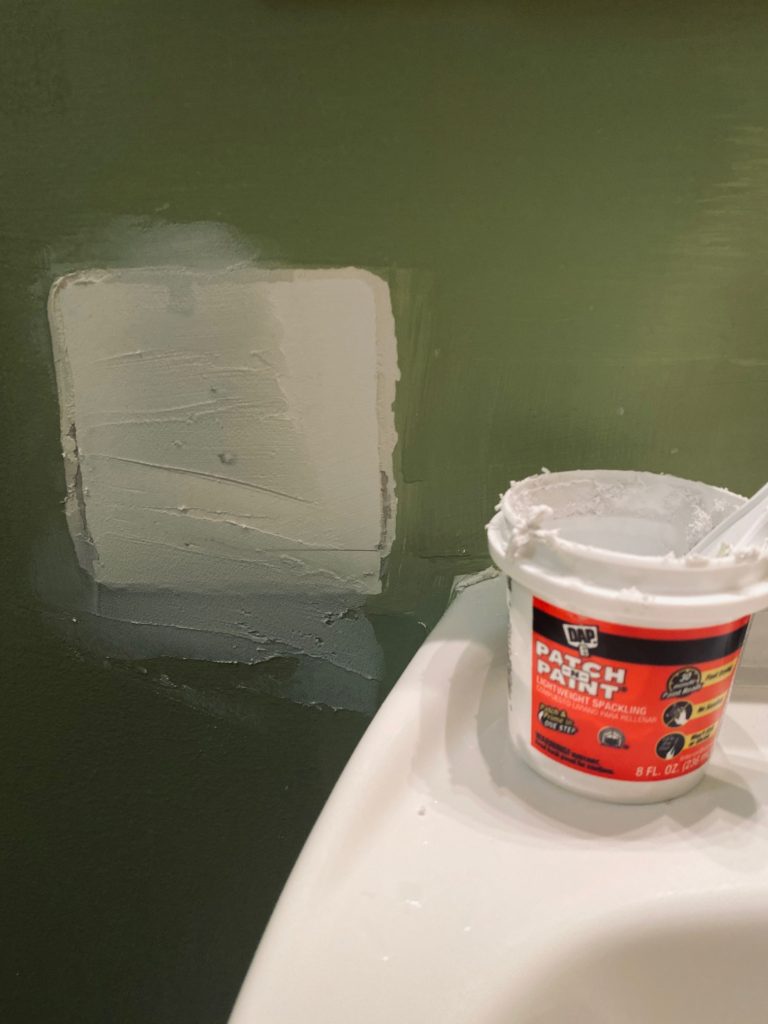
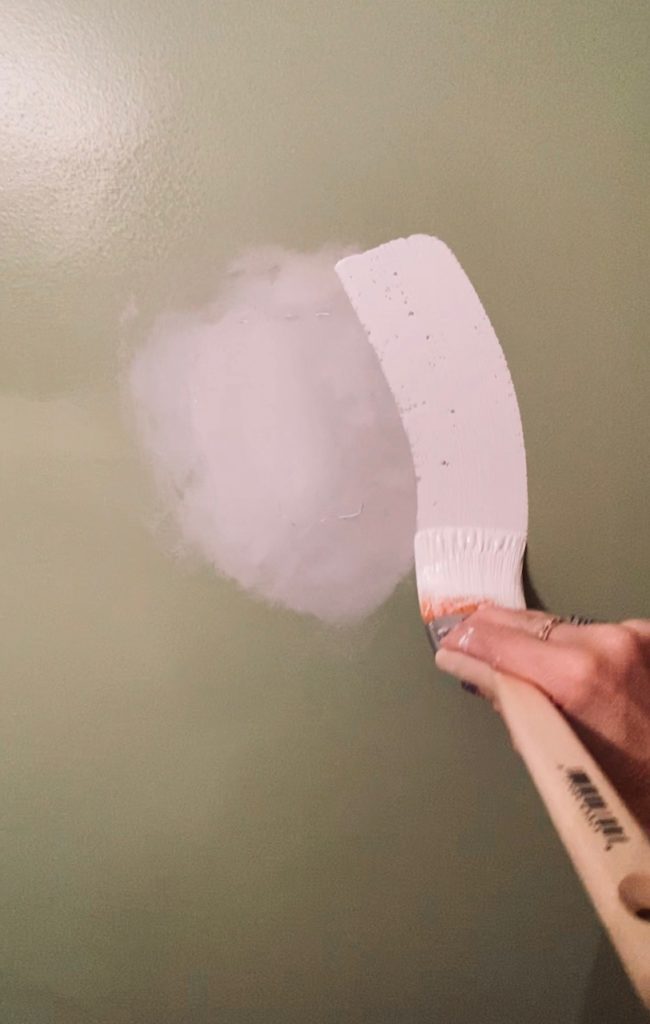
The fixtures were removed but damaged the walls. No problem with this easy DIY wall repair
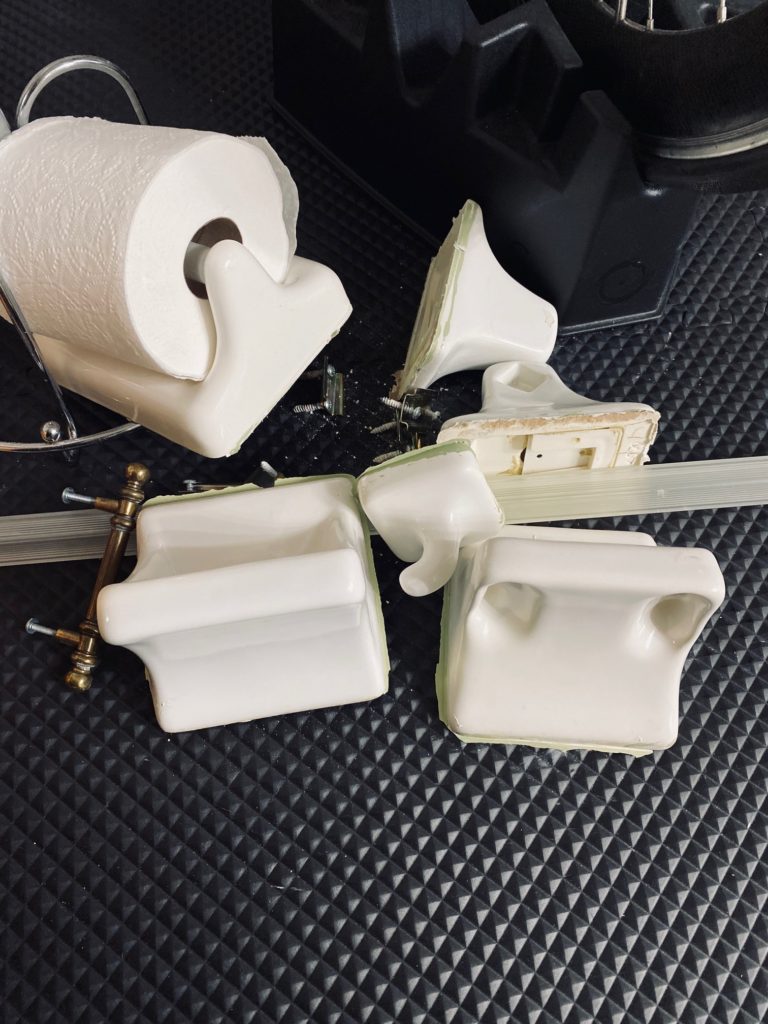
I removed existing towel rack, a couple towel hooks, soap dish, toothbrush holder and toilet paper holder. The ceramic fixtures were screwed, glued and painted in place so removal damaged the wall but now worries! When walls are minimally damaged or there are existing nail holes to be filled, this can easily be repaired and you can do it yourself!
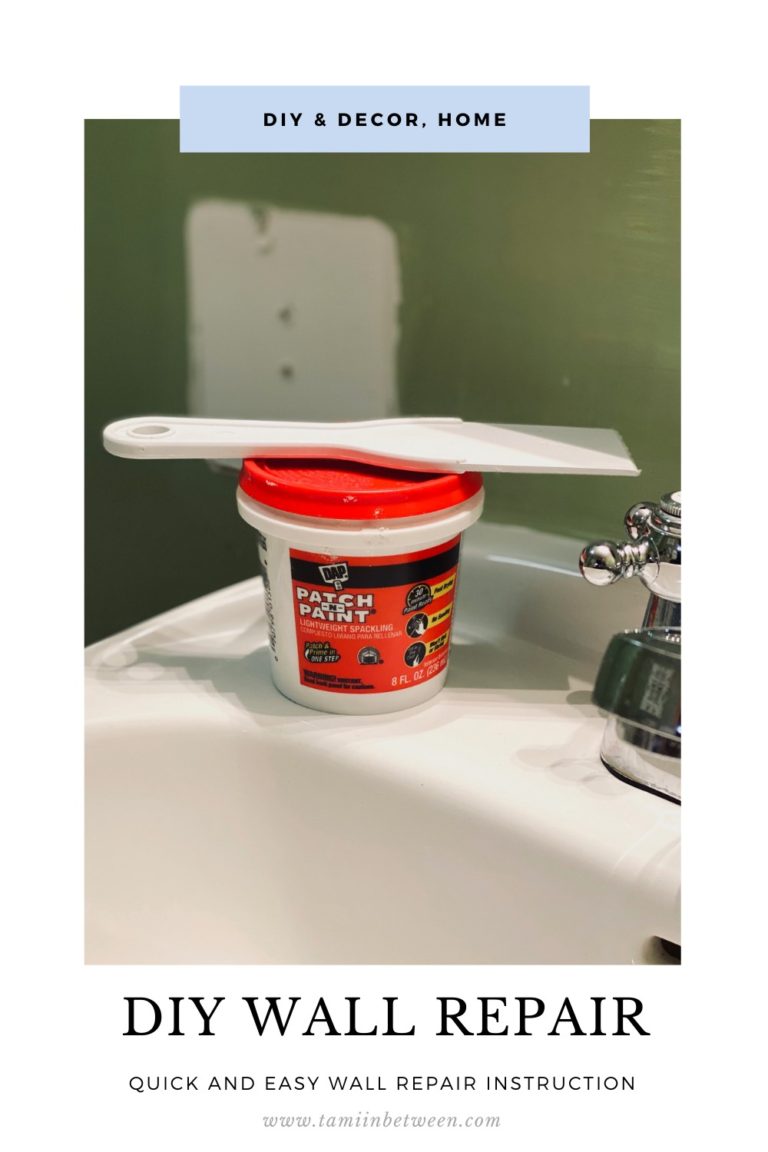
To begin you will need patch n paint and a scraper
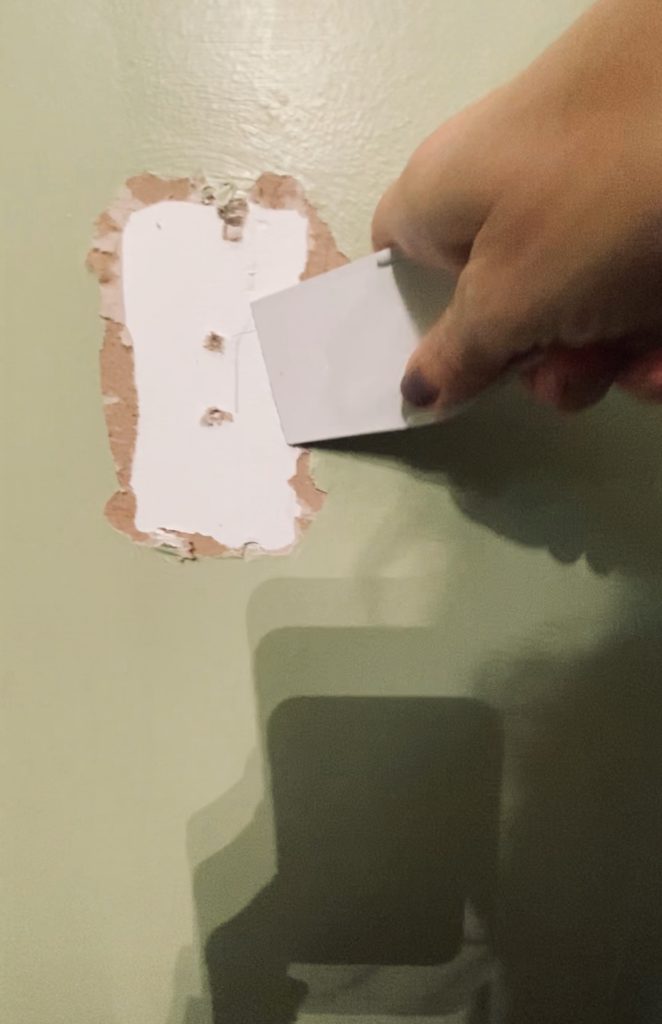
First scrape all loose paint and debris away from area you are to repair.
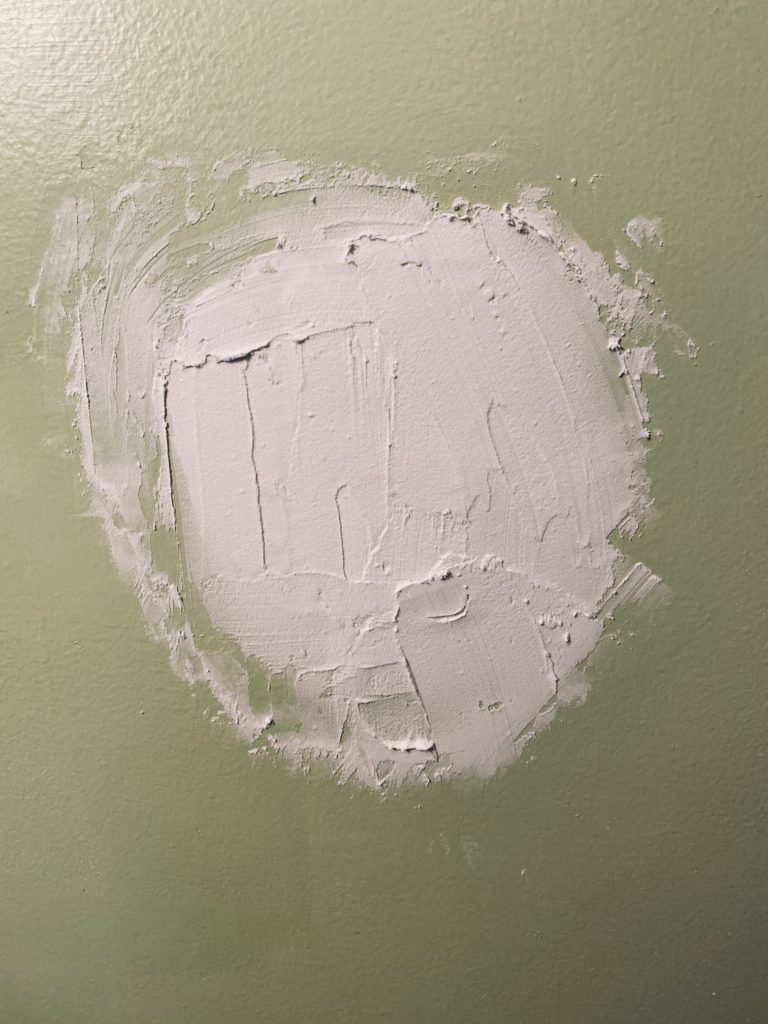
Then liberally cover the area that needs repair with the patch n paint. Use spatula to spread it.
Allow at least 12 hours to dry
Spread the patch n paint generously to cover the repair area. It does not have to be smoothed out. You will do this in a later step. Depending on how much patch n paint you used, I would allow 12 hours to dry completely.
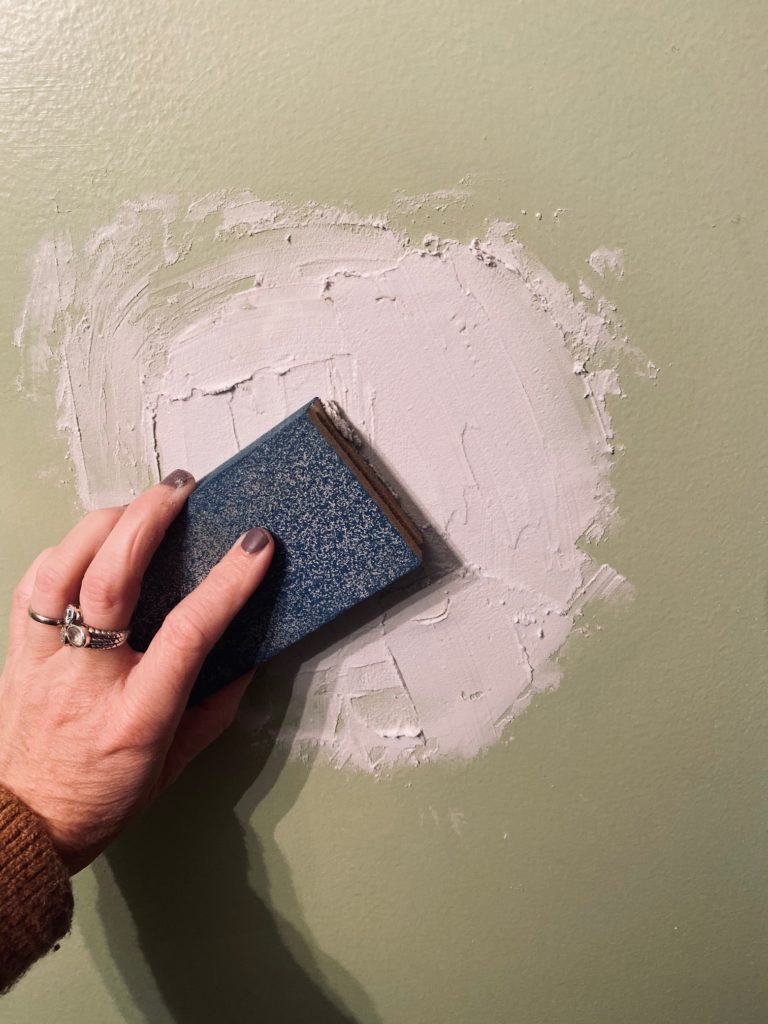
With a block sander rub over area until smooth
If you still have areas that are not smooth or filled in, reapply. let dry and sand again until smooth
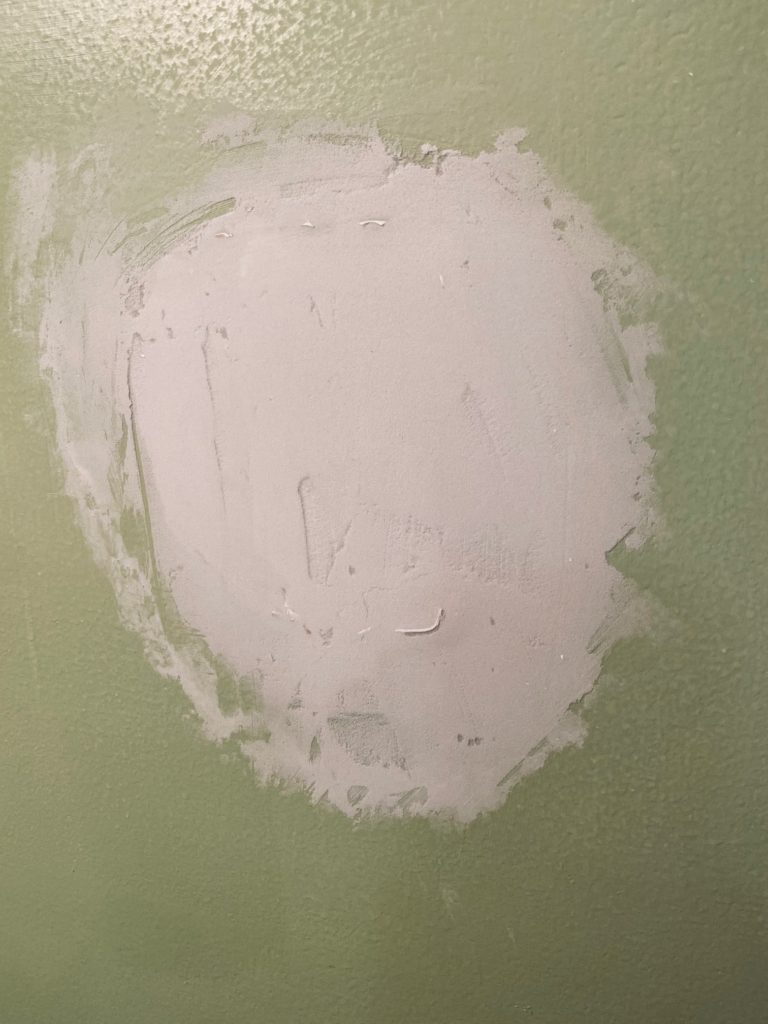
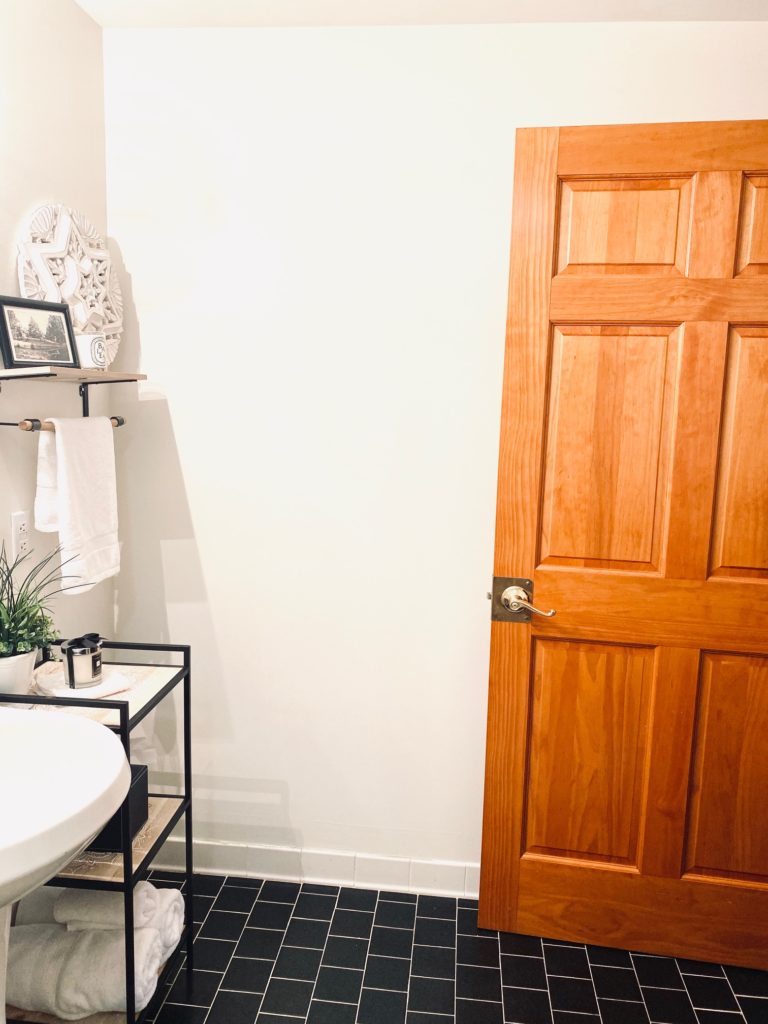
Once wall has been repaired it's time for paint!
The final step is to sand the area with a hand block sander or sponge sander. These are inexpensive and easy to work with. I start with one that is 180 grit first and finish with a 120 grit to make it really smooth. FYI – the higher the number the courser the grit. Lastly, the wall is now ready for paint! Once paint is applied and dried the wall will look as good as new!
BEFORE: The damaged wall before the DIY wall repair
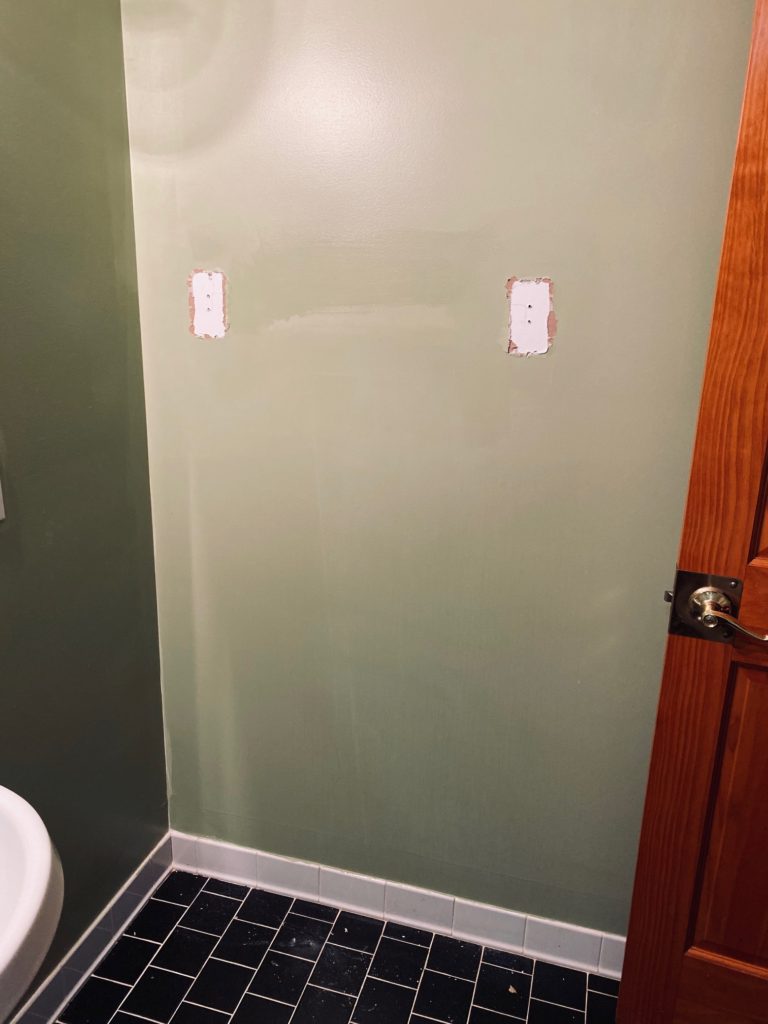
AFTER: The DIY wall repair complete. Looks good as new!