BATHROOM UPDATE FOR UNDER $200

Spent another Saturday doing a DIY on a dime room update.  This time, it wasn’t my home.  I’m running out of rooms to update over here anyway!!  My sister in law Suzy asked me to assess her home for some budget friendly updates.  Her and her husband plan to sell their home within the next 3-5 years when they retire (lucky them)!  So the  home updates need to be made with resale in mind and as always, to spend the least amount of money as possible.  After a quick walkthrough I knew the home had great potential for some budget friendly updating.  The room refresh would not only increase resale value by modernizing the space but also increase functionality for them until they are ready to sell.   Win and WIN!  We decided to start in the main floor bathroom.  Check out the bathroom update for under $200 and by the way, my SIL and I did this DIY on a dime in a single day!

Before

This bathroom was originally decorated for her sons to share when they were kids.  Since her “kids” are now men (one is a Sophomore at Purdue – Boiler Up (I’m guessing that is what you say?)  Her other son has long since graduated college, is married and now lives in Bowling Green.  Suzy was ready to bring me in to give the “kid” bathroom a glow up.  Just like those kids growing up.  It’s was time for the bathroom to grow up too.  Here are some pictures of the “kids” bathroom before we started our DIY on a dime bathroom update!

BEFORE
BEFORE
BEFORE
BEFORE

What we did

  1.  Wash and repair walls – After washing walls with warm soapy water we filled all nail holes and damaged areas with patch n paint spackling paste.  My blog post on DIY Wall Repair HERE.
  2. Paint walls – We used the color Sherwin Williams Aesthetic White to paint the walls.  It is a satin finish with Behr Ultra paint and primer in one from Home Depot.  The wall color was chosen to match the existing tile (we used my Samplize paint samples to get the perfect match to the tile).  By matching the wall paint color to the tile, the tile became barely noticeable (that was our goal as Suzy wasn’t crazy about the tile on the wall.  My painting the upper half of wall to match the existing tile it is now less noticeable and we saved her lots of money by not replacing it.  
  3. Sand cabinet – Since we painted the cabinet first needed to sand the existing paint.  I used 100 grit sand paper to rough up the paint surface.  Only need to sand enough to scuff up the existing paint and not take it down to bare wood.  A scuffing is plenty for the new paint to adhere.  I used a hand held electric sander to make the job go faster (took about 5 minutes)!
  4. Wash and paint cabinet – Remove sanding dust and painted cabinet with color Sherwin Williams Tony Taupe using Dutch Boy Platinum Plus semi gloss enamel paint for cabinets.  This was paint left over from my master bath update.  See that blog HERE.  We are saving money everywhere!
  5. Change hardware – Replaced brass cabinet hardware pulls with modern crystal pulls HERE.  I had extra of these.  We only needed three so she got a freebie in these!
  6. Wall covers – update all outlet and light switch covers.  Replaced the old brass ones with clean and simple white covers that blend well with the walls.  
  7. Lighting – A quick and easy way to update any space is to get new lighting.  This black matte light was purchased at Lowes HERE.  I love the modern look of this light and it was the cheapest option too!  The mirror and light update really made this room what it is, modern and fabulous!   
  8. Mirror – Speaking of mirror…the old mirror was antiquated and too big for the vanity.  We removed it and replaced with a smaller and sleeker black rimmed mirror.  This was just what the room needed in size and design.  I found this one at Home Goods for $30.  Similar one HERE.  
  9. Update faucet and toilet handle – They were both brass and had patina and corrosion.  The original plan was to replace both with new black matte finished ones.  Found out stores do not sell black toilet handles. So we cleaned it up and spray painted it black matte.  It worked great!  Spray paint to the rescue!  It fixes everything and is a DIY’ers must have in the toolbox!  Decided to do the same technique with faucet.  Again, worked great.  $110 matte black faucet that was purchased was returned as it was not needed!  Saved more $$$ guys!
  10.  Decor – I always “shop the house” first!  Reuse, repurpose and recycle.  Majority of the decor was taken from other areas of the home.  The only decor piece that was purchased for the update was the large wall clock.  Another find at Home Goods for only $30.  Some similar options HERE, and HERE.  
  11. Rug – Since this is DIY on a dime, replacing the tile floor (or wall) is not an option.  Although some tiles are cracked and the grout is in need of a good scrubbing  (Suzy bought some grout cleaner to do this…I’ll update blog with what she used and if it worked when I find out).  To hide all that, the best thing to do is cover it up with a decorative rug.  I found this one in the basement bathroom (there were two so I didn’t leave the basement floor naked!)  Suzy decided to purchase a new rug after all.  However, I think the one I “borrowed” from the basement bathroom looked pretty good and it was free! 

After

AFTER
AFTER
AFTER
AFTER
AFTER
AFTER
AFTER
AFTER
AFTER
AFTER

Grand total

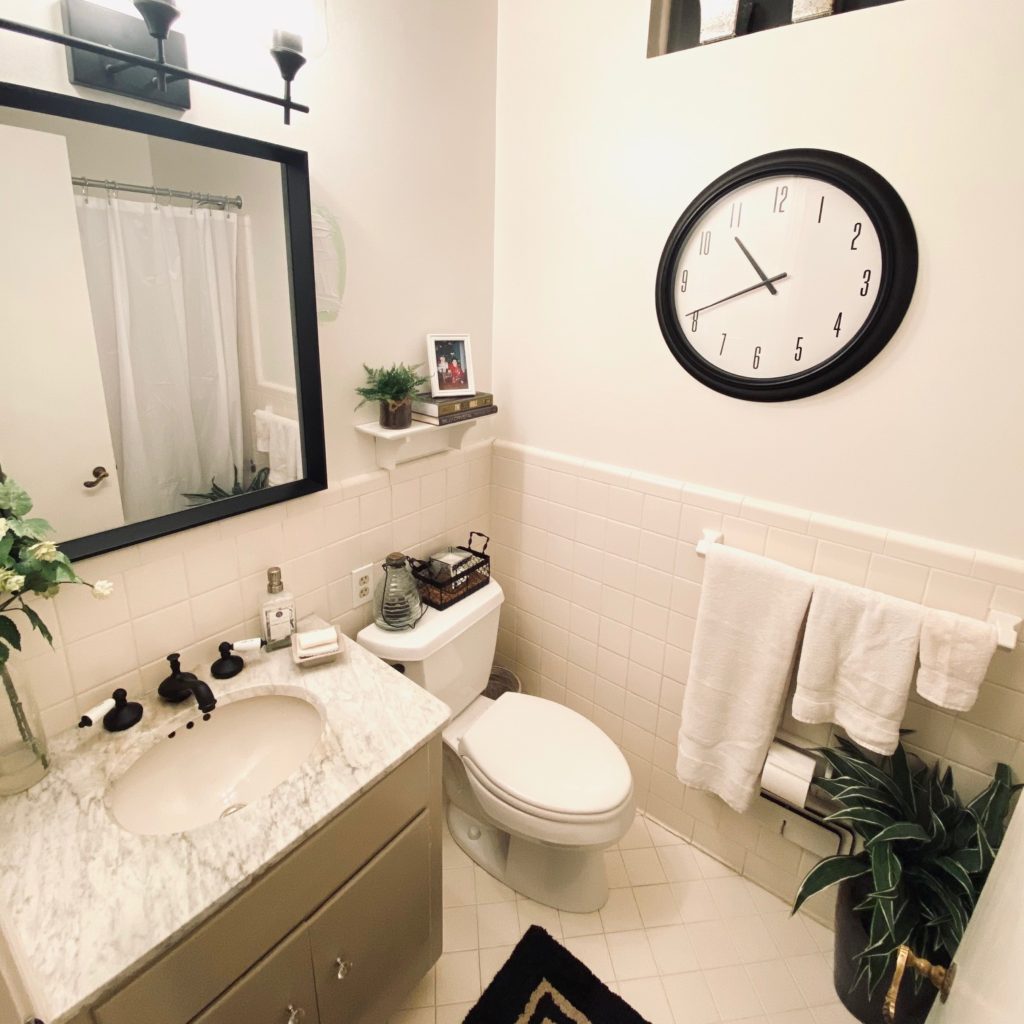
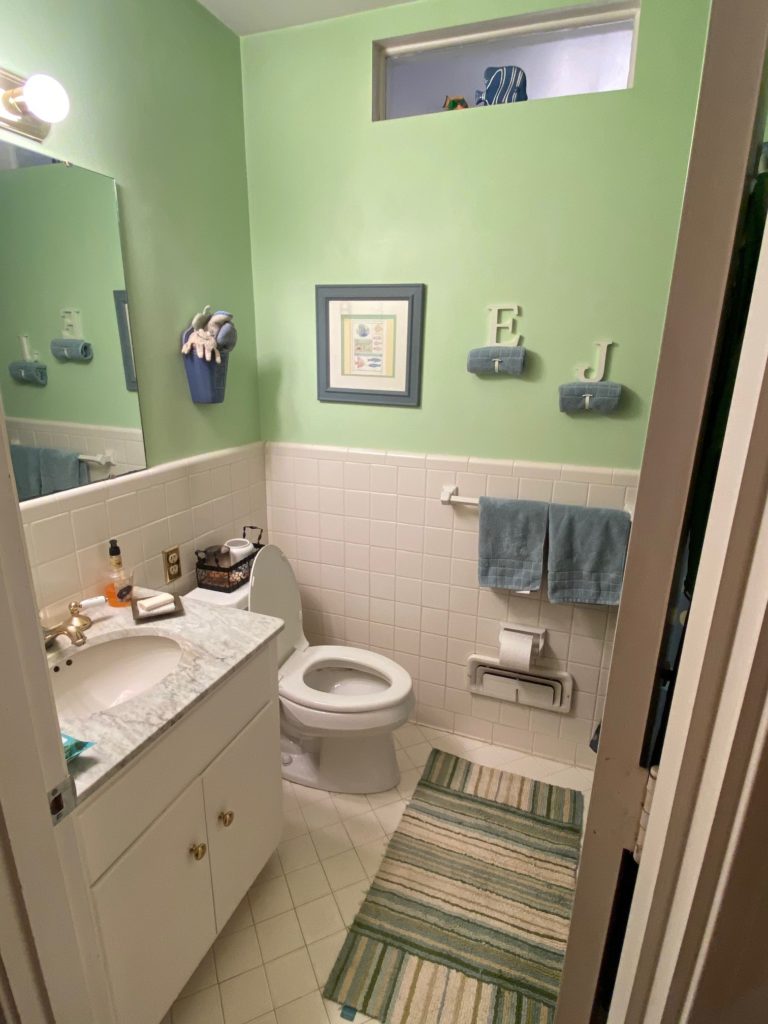
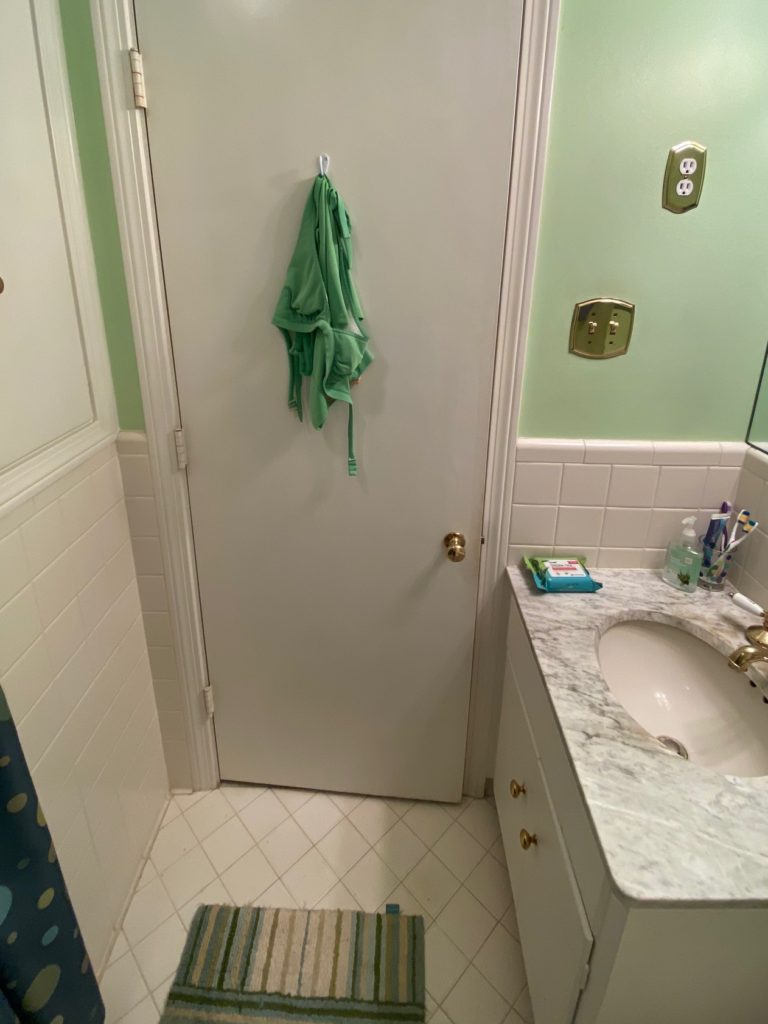
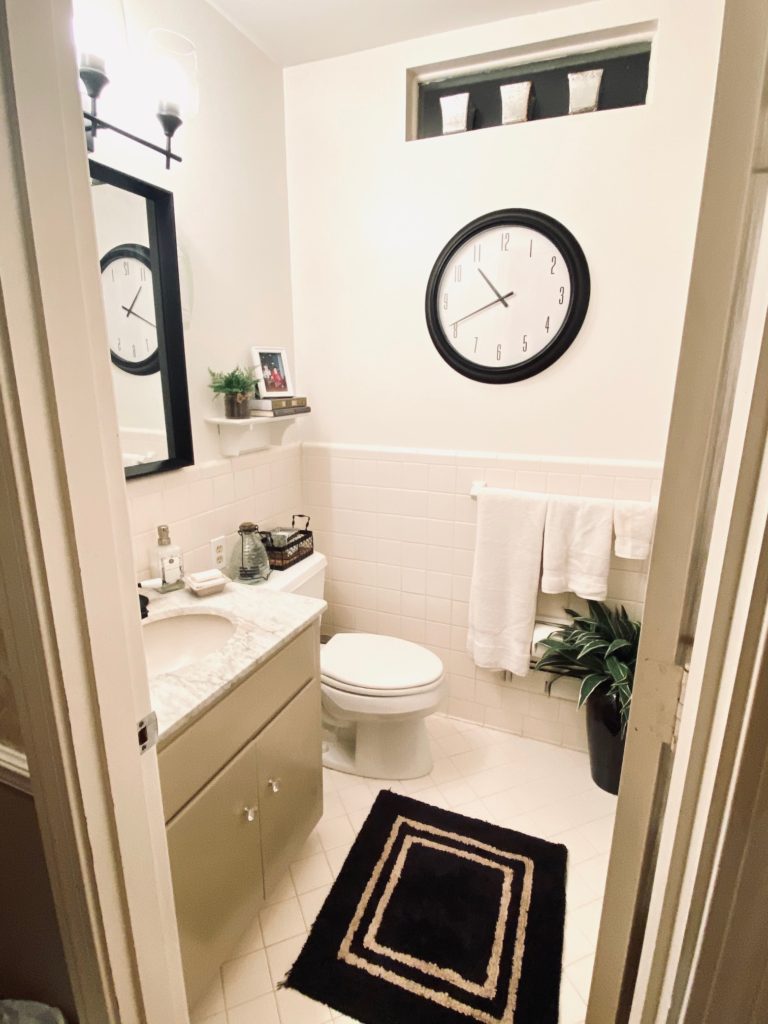
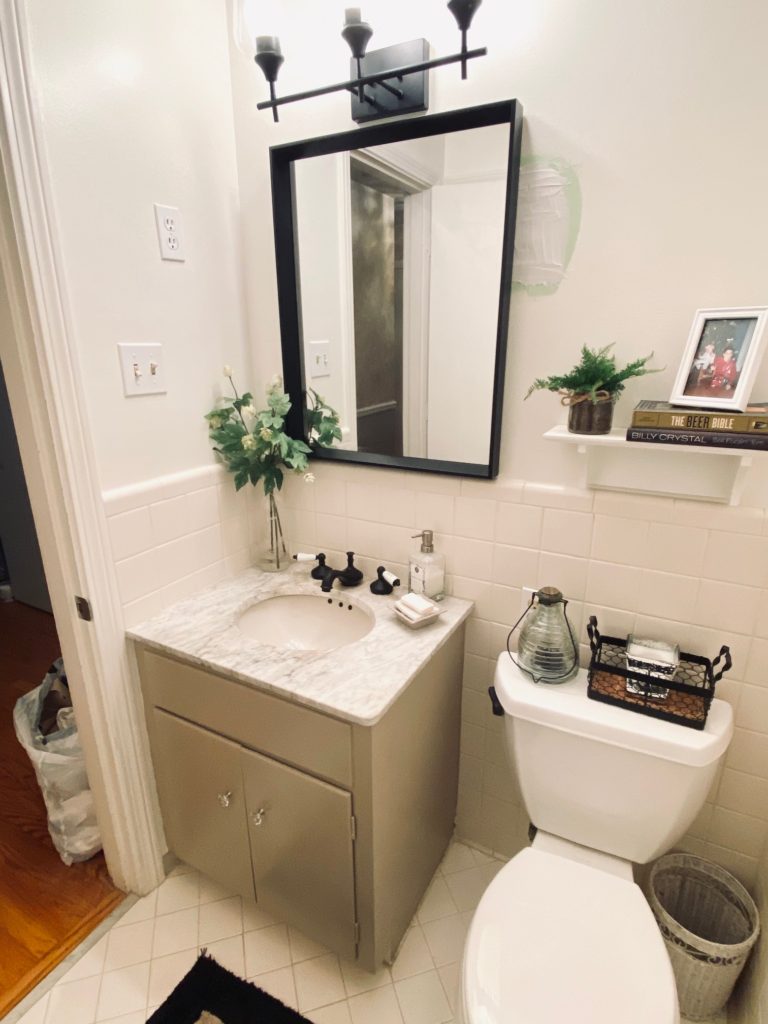
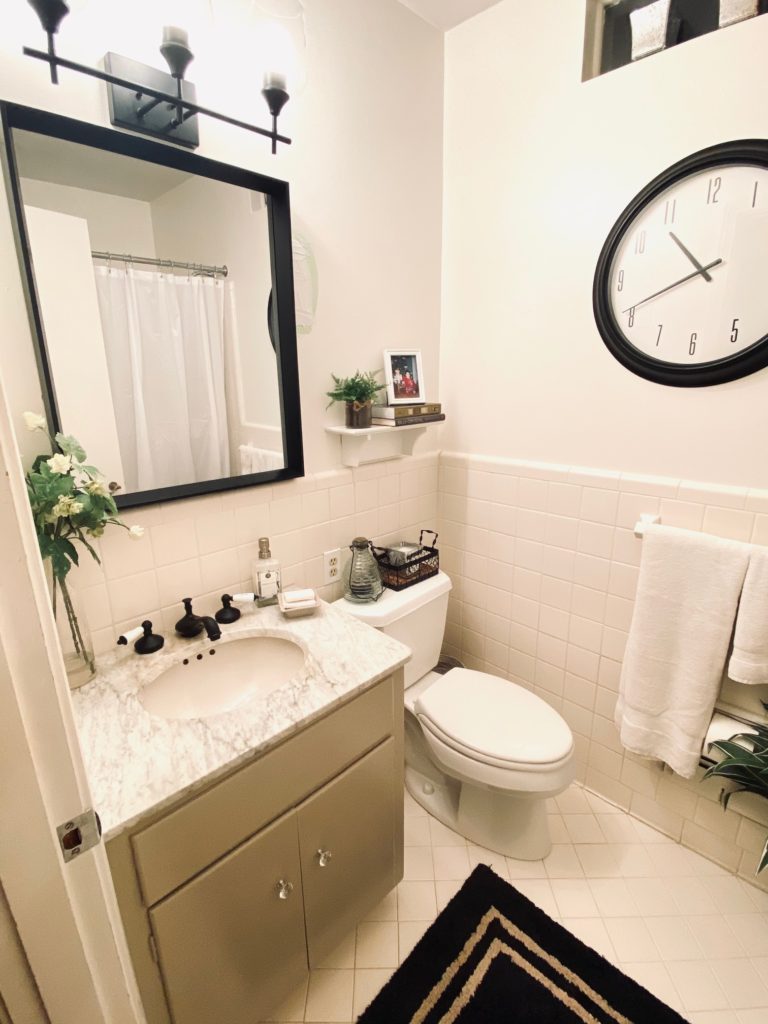
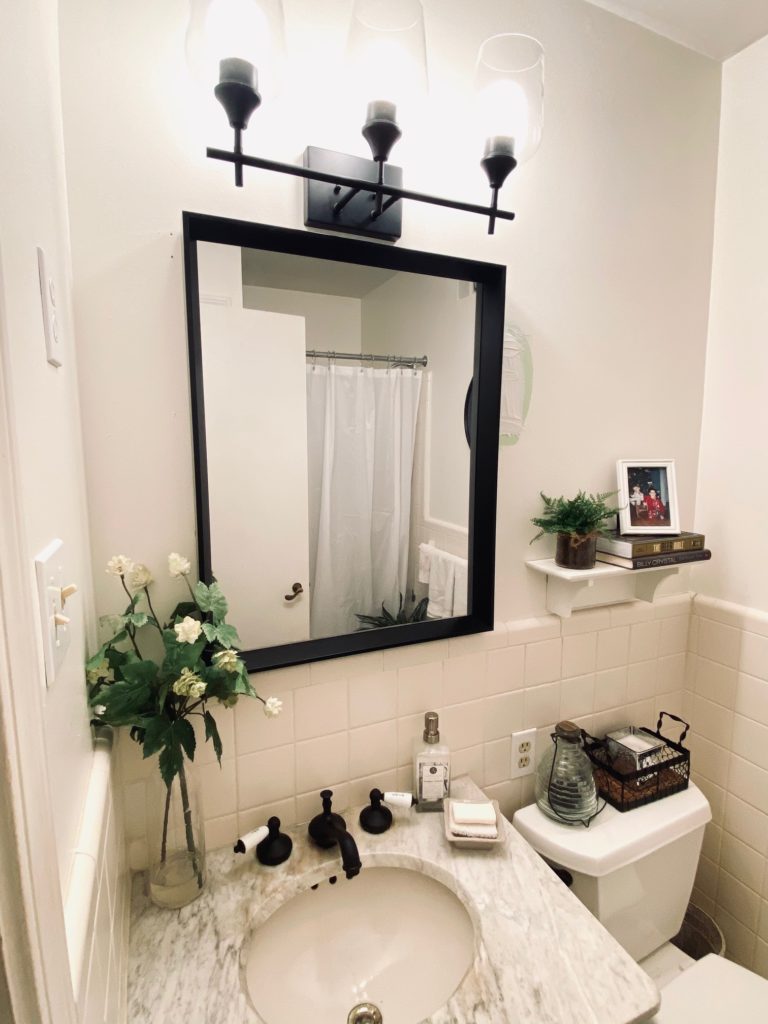
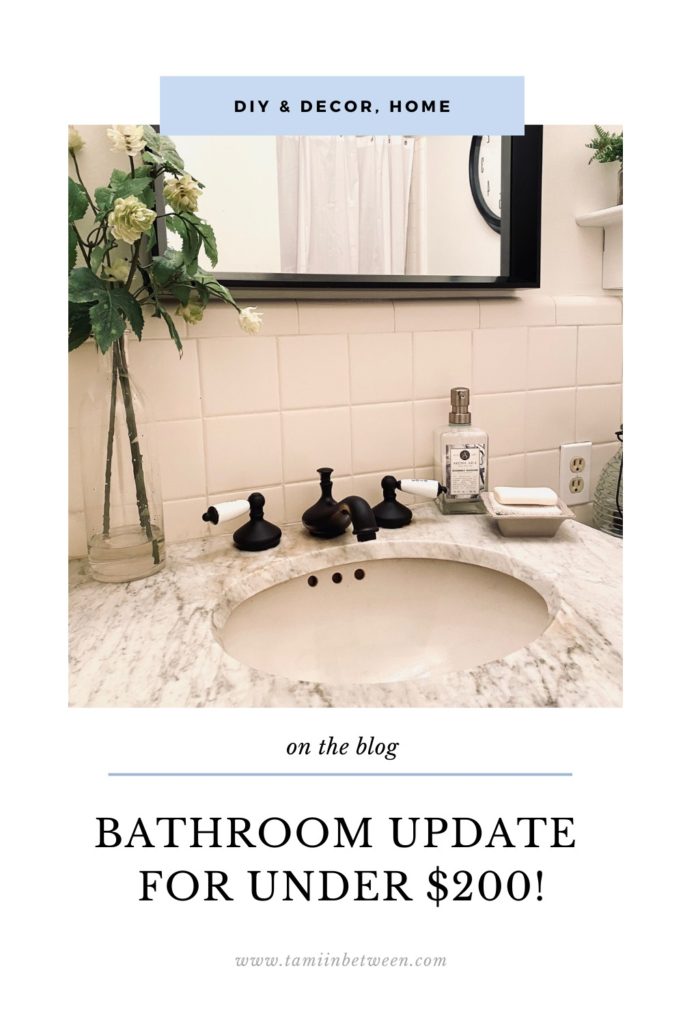
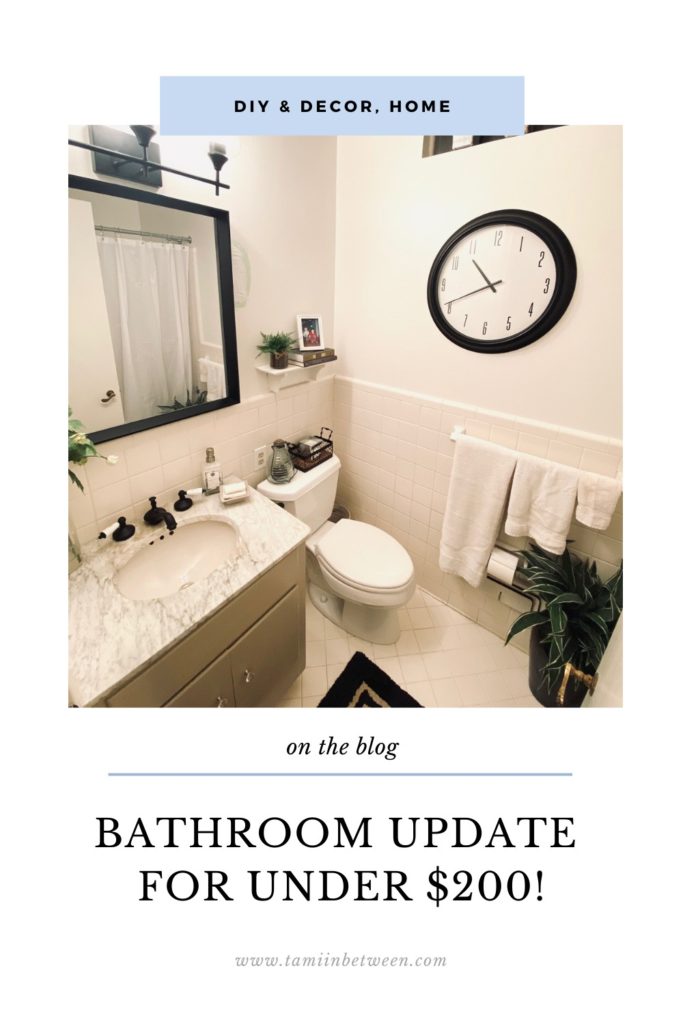
So when it was all said and done, Suzy figured out that the total amount spent on the bathroom update was only $190!  AMAZING!  Big transformation for very little investment.  Thanks Suzy for trusting me to come into your house with my spray paint and spackle!  Not even batting an eye as I grubbed through every nook and cranny of your home looking for decor inspo.  You were a trooper giving me carte blanche to do anything I wanted in the space (I really gave her no clue as to what I had planned).  I think that trust paid off.  Now let’s talk about your master bathroom….I’ve got a few ideas… 😊

Shop the post

1 thought on “BATHROOM UPDATE FOR UNDER $200”

Comments are closed.